

Leather repair before and after CT
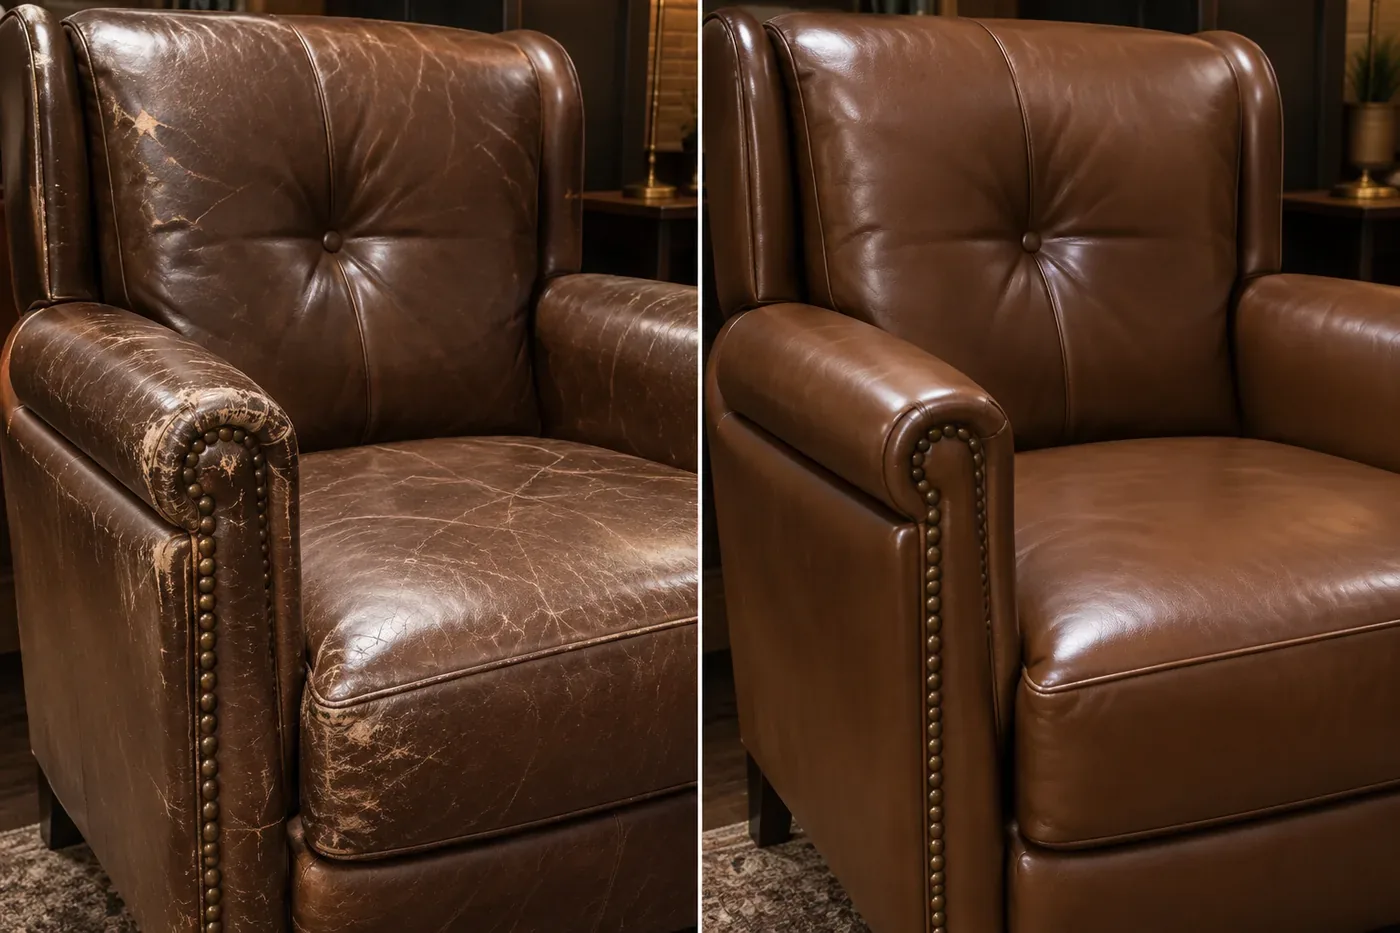
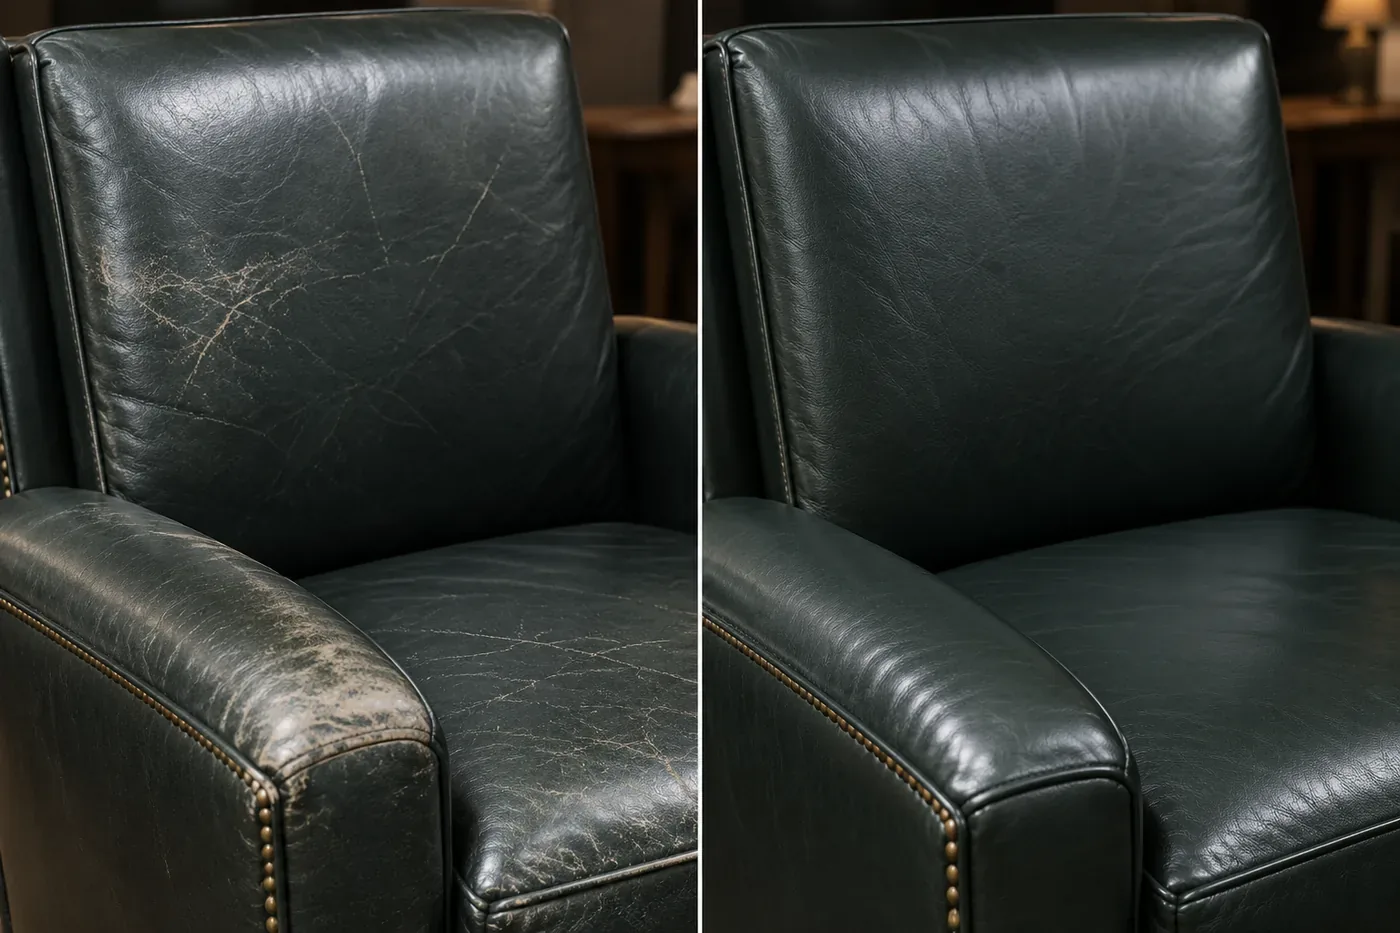
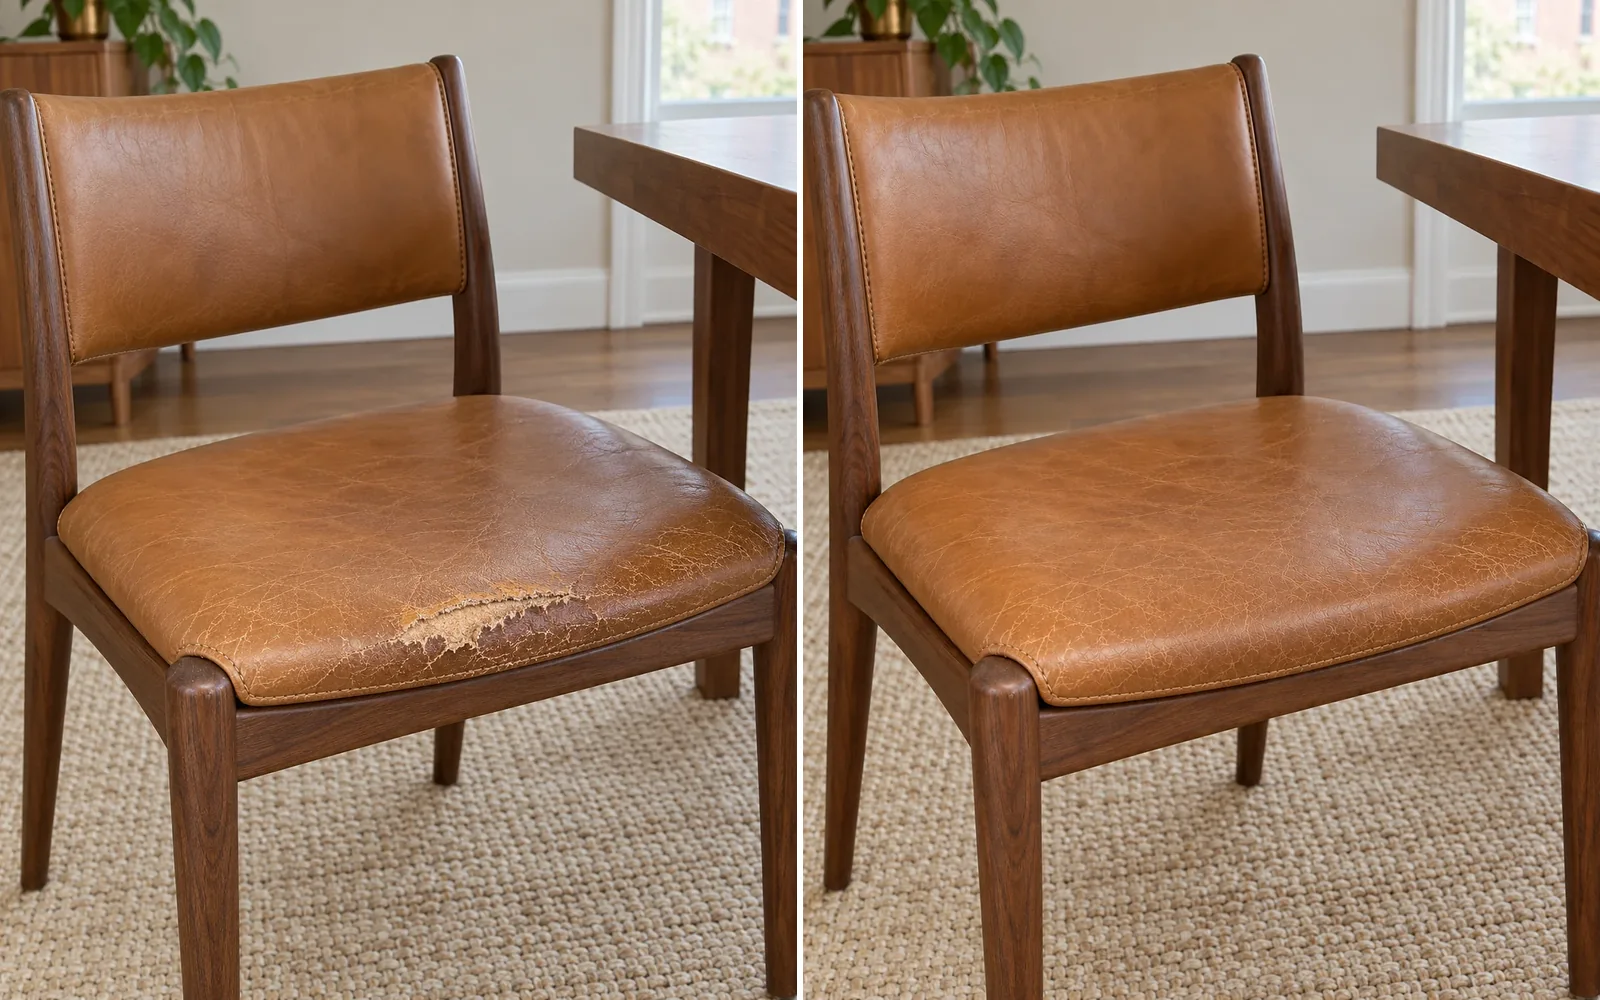
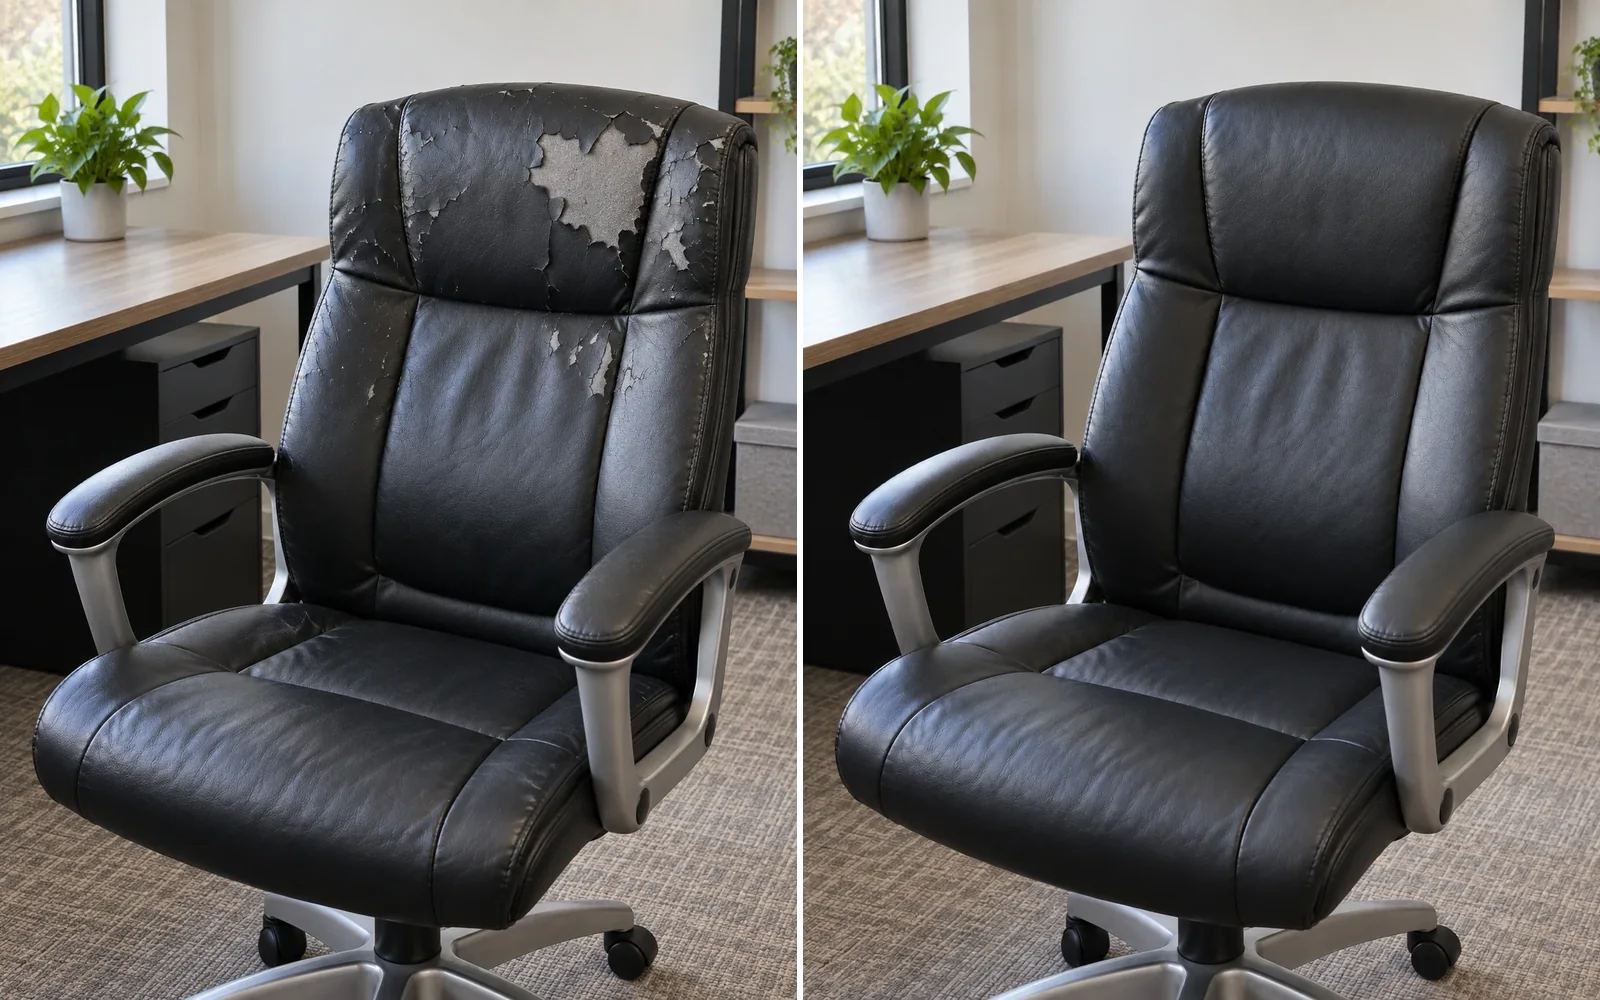
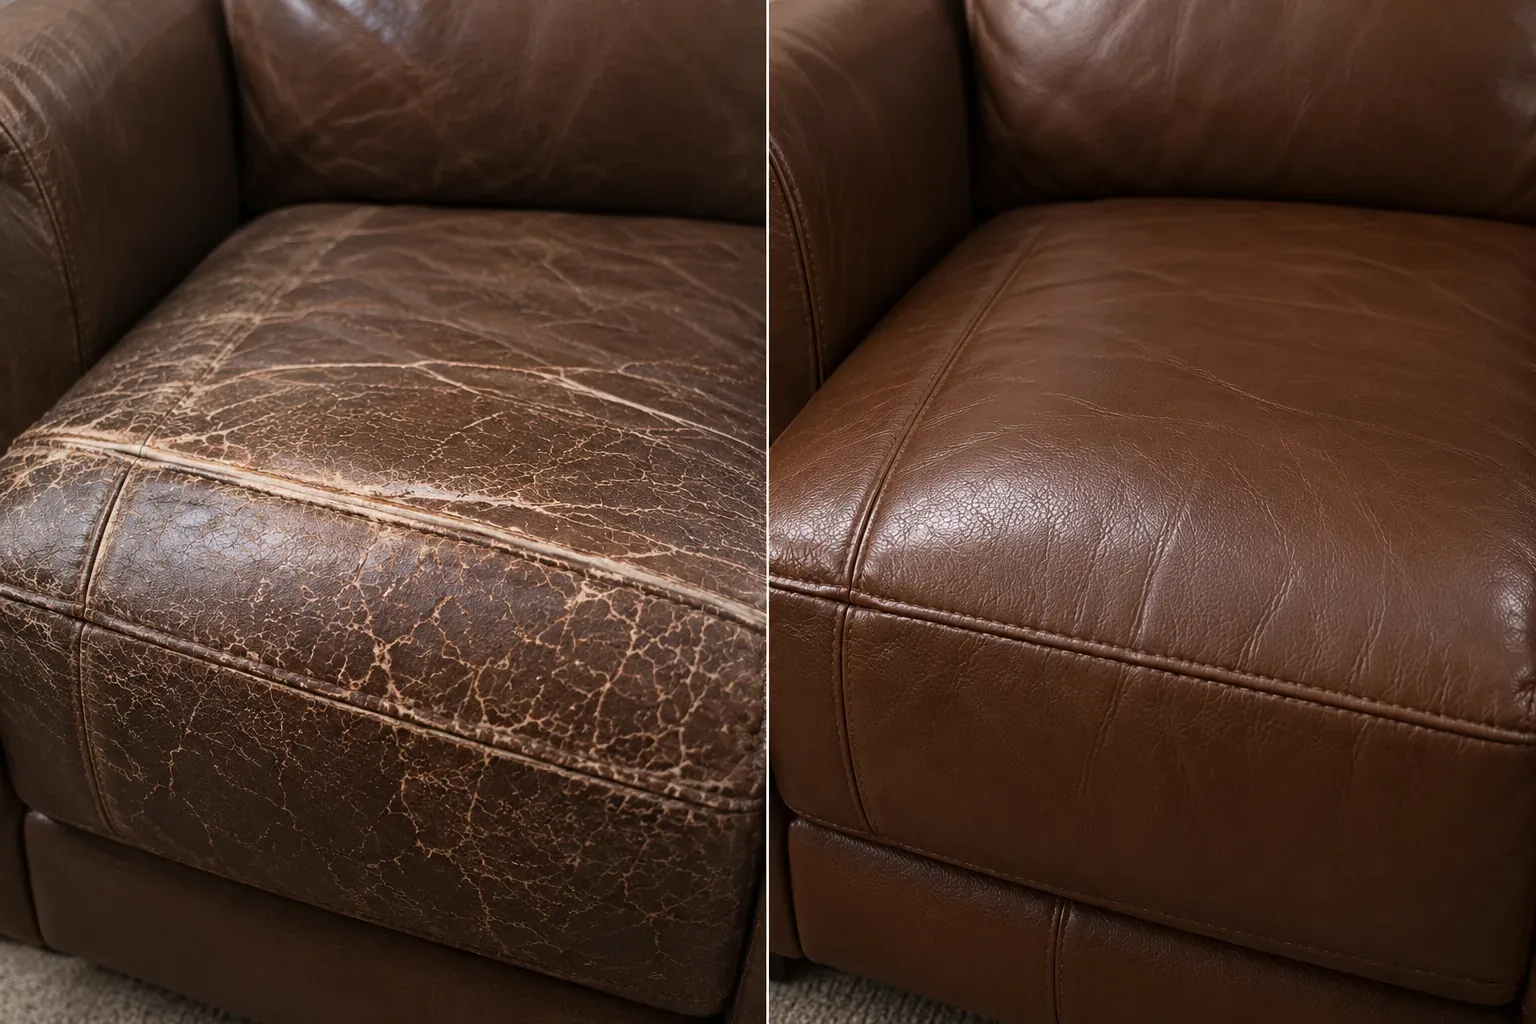
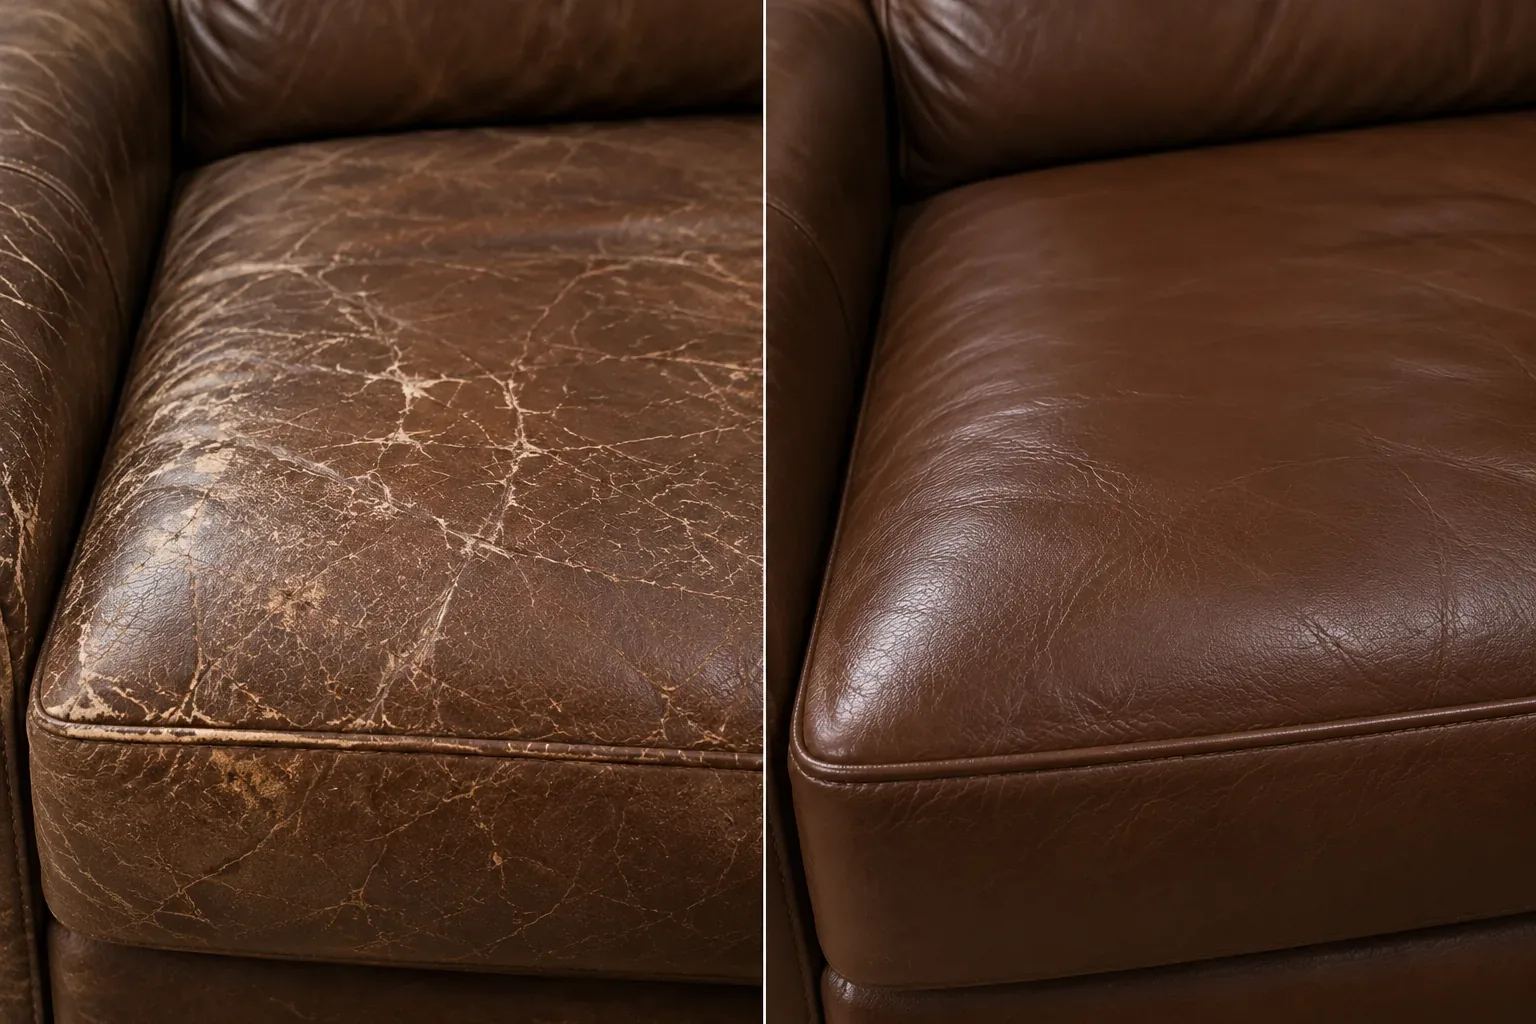
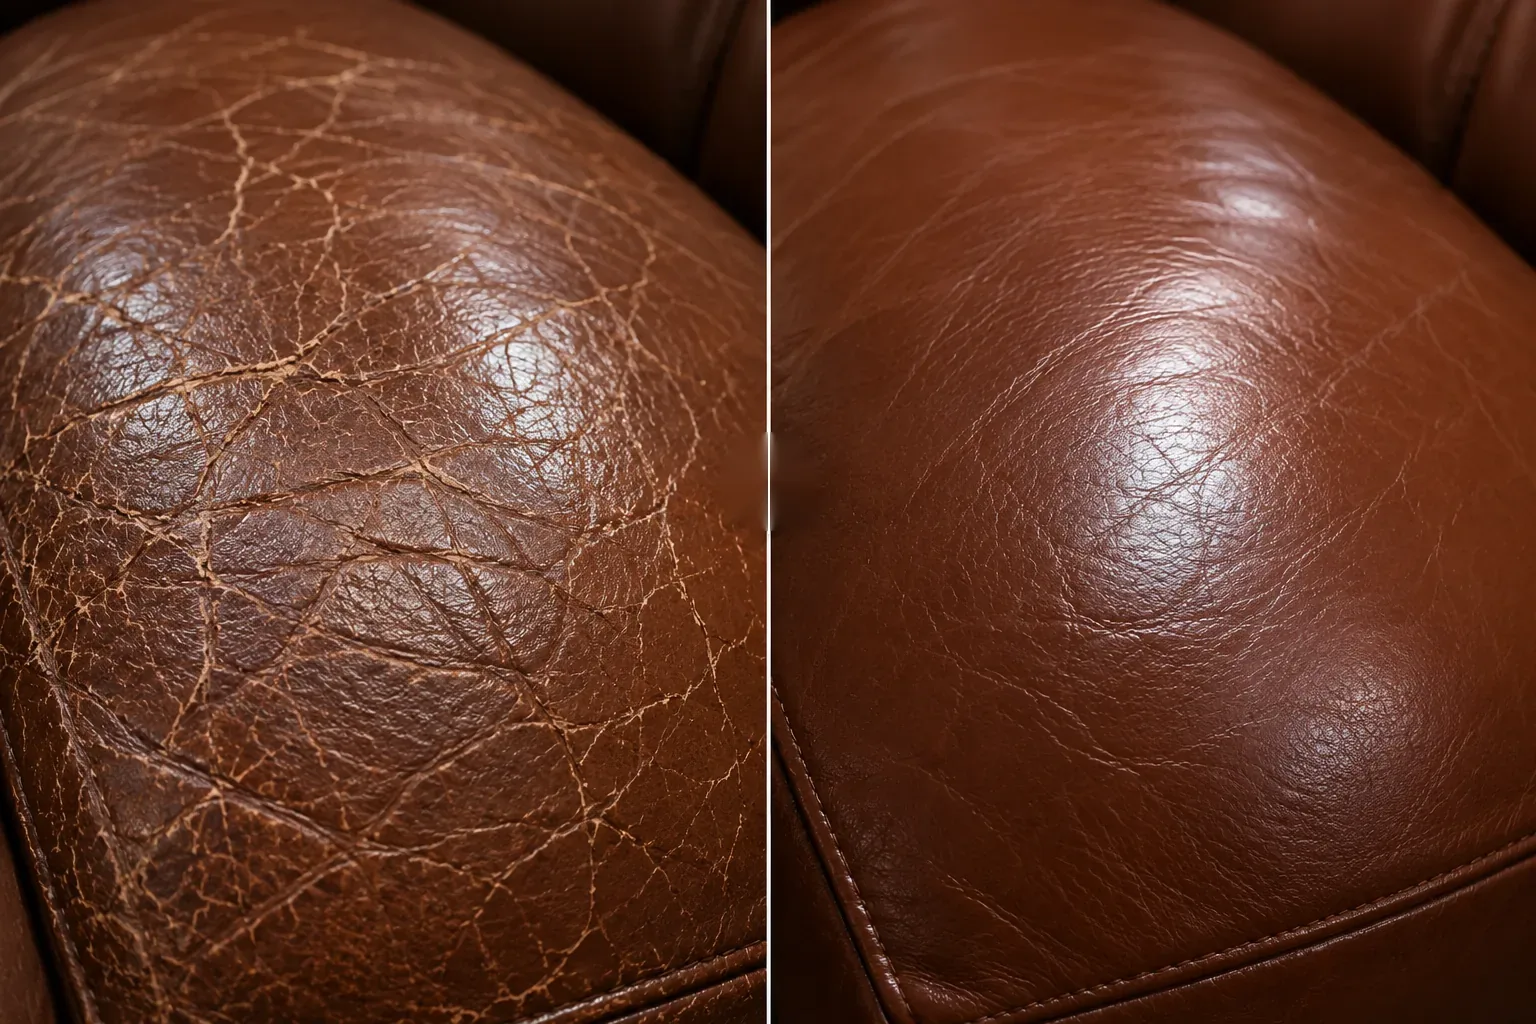
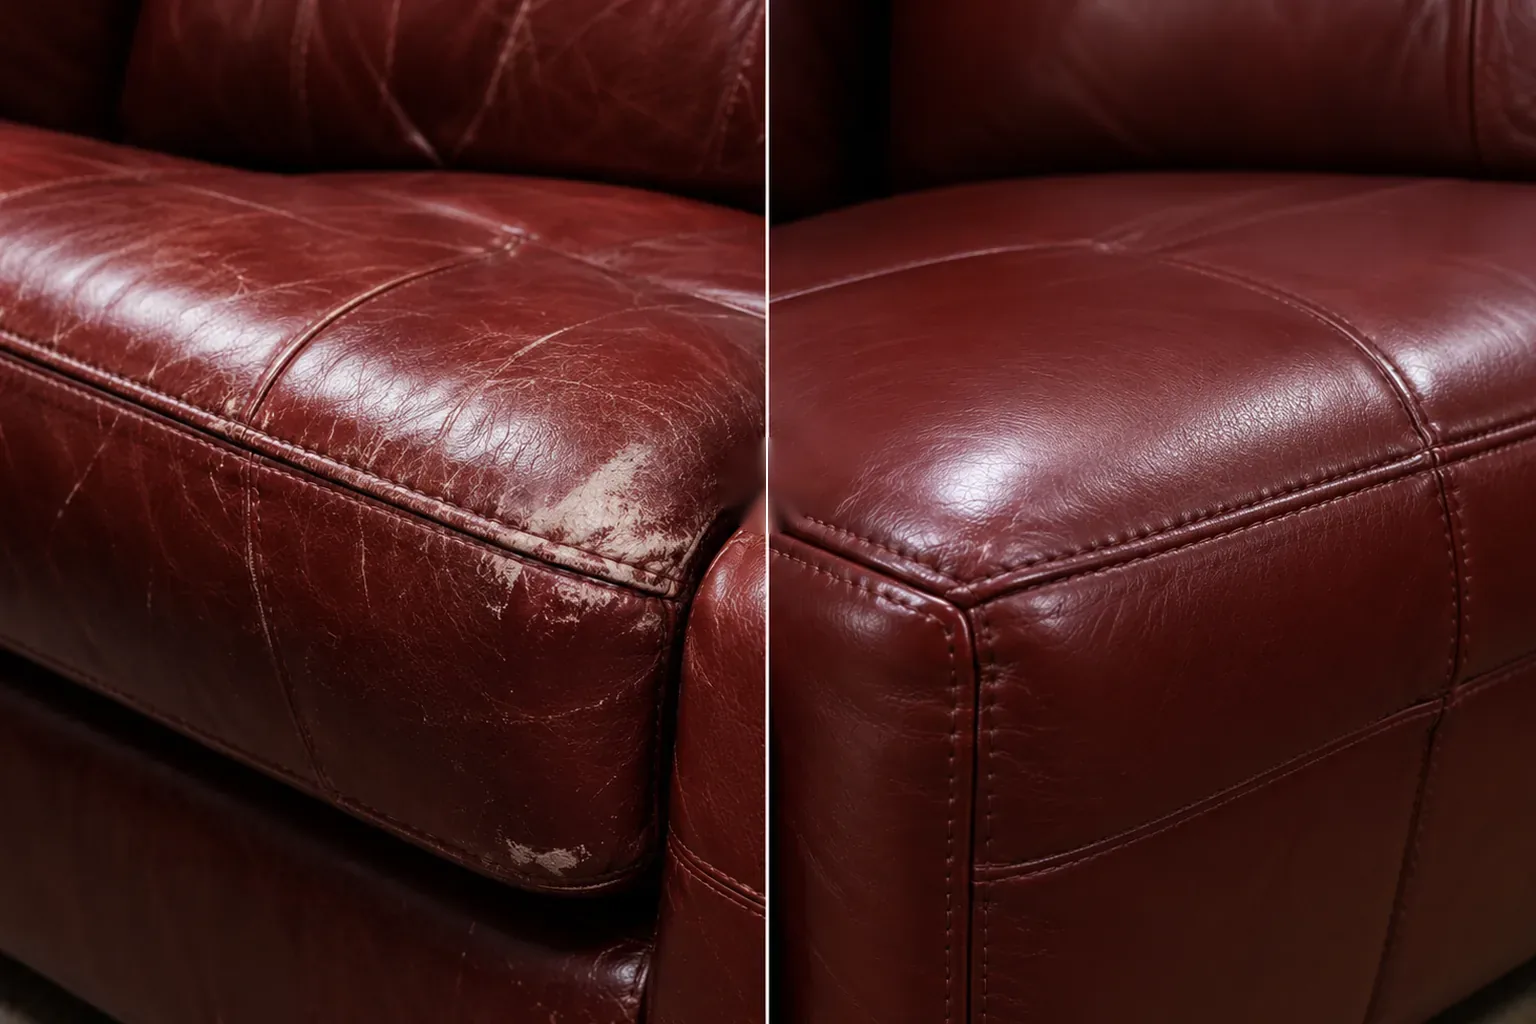
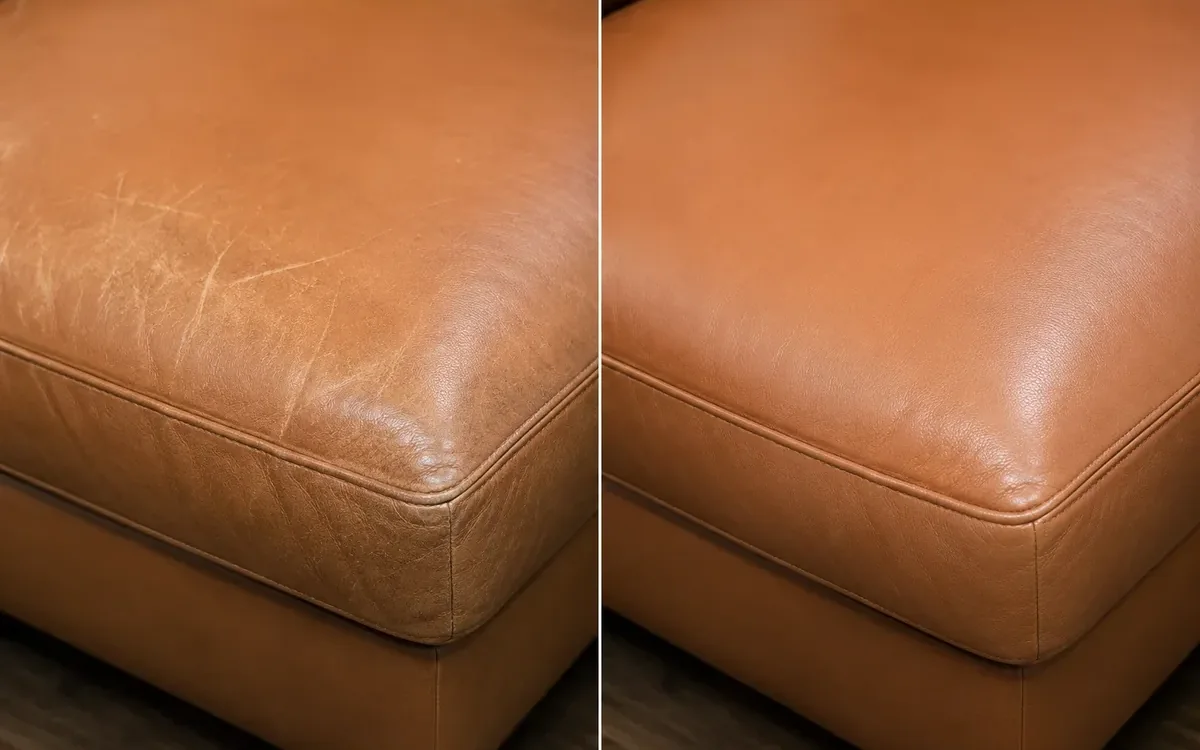
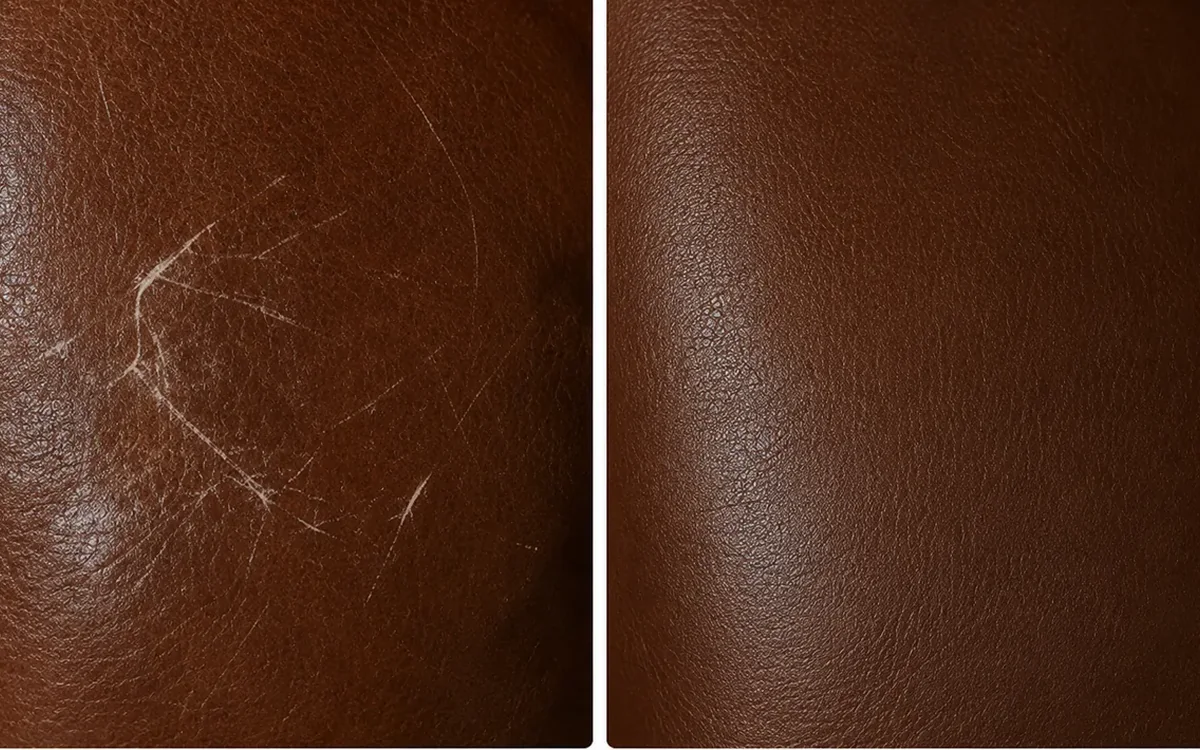
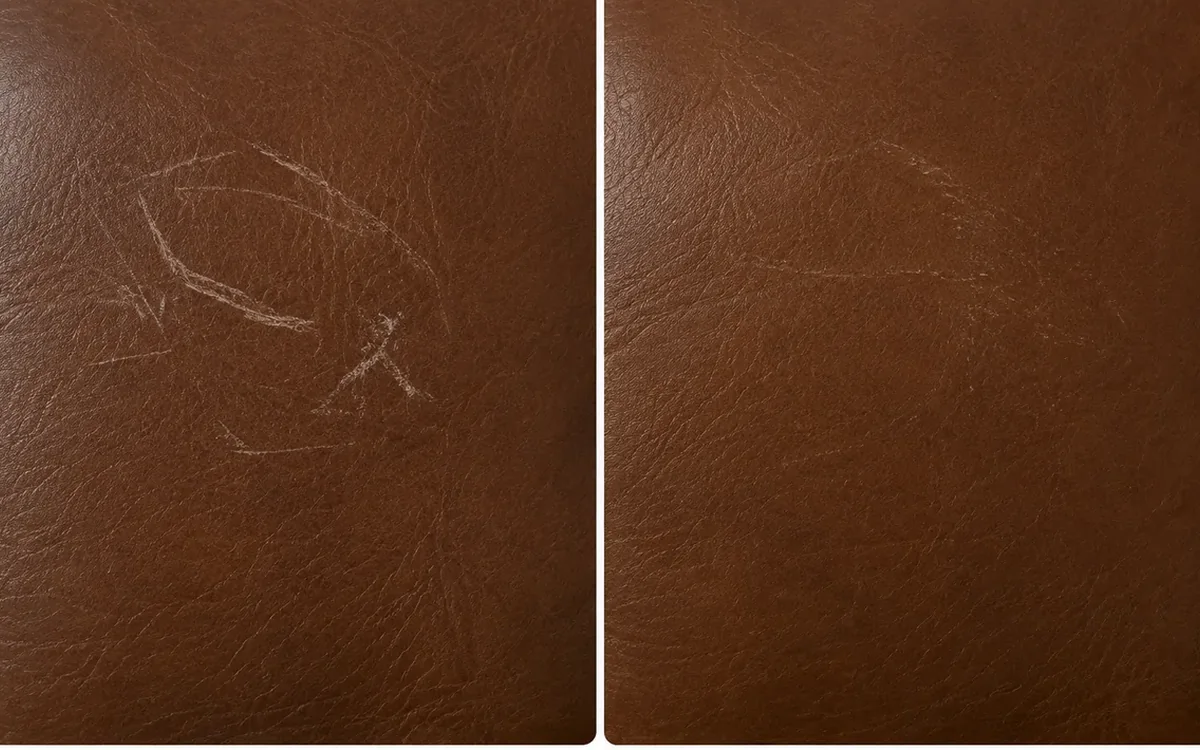
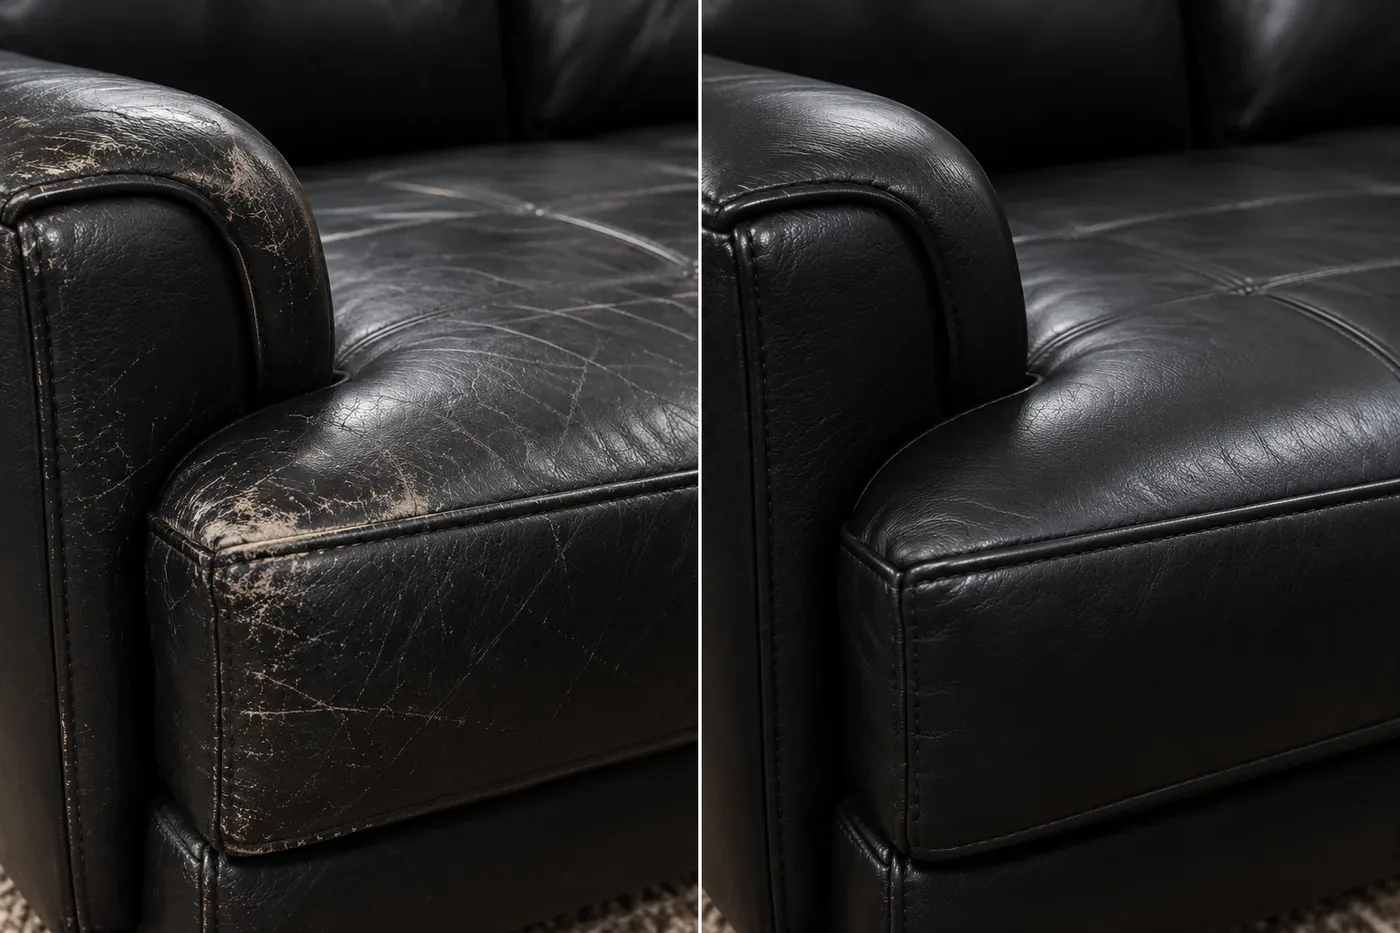
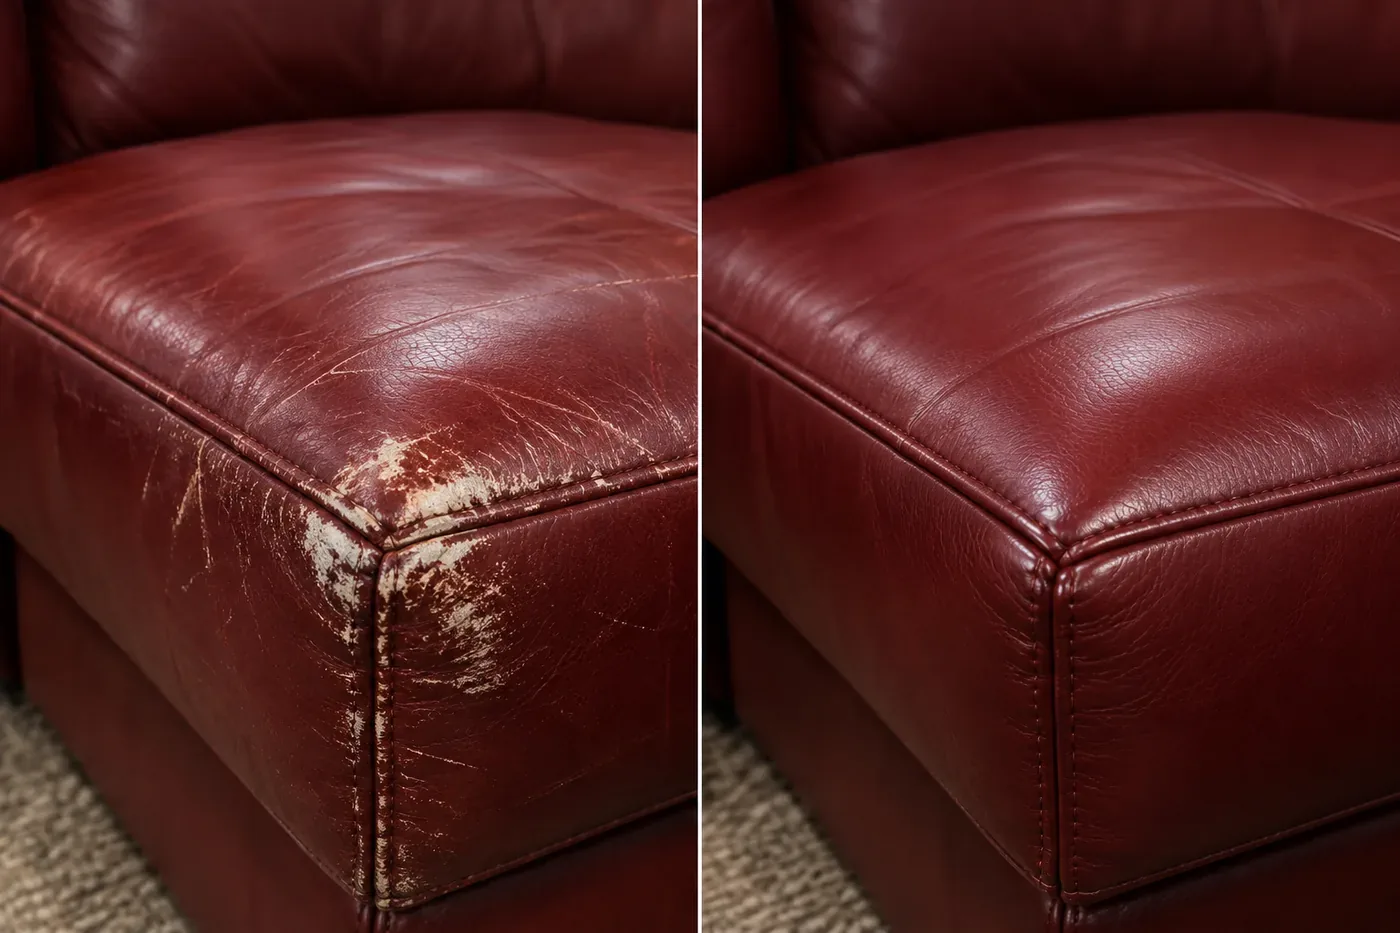
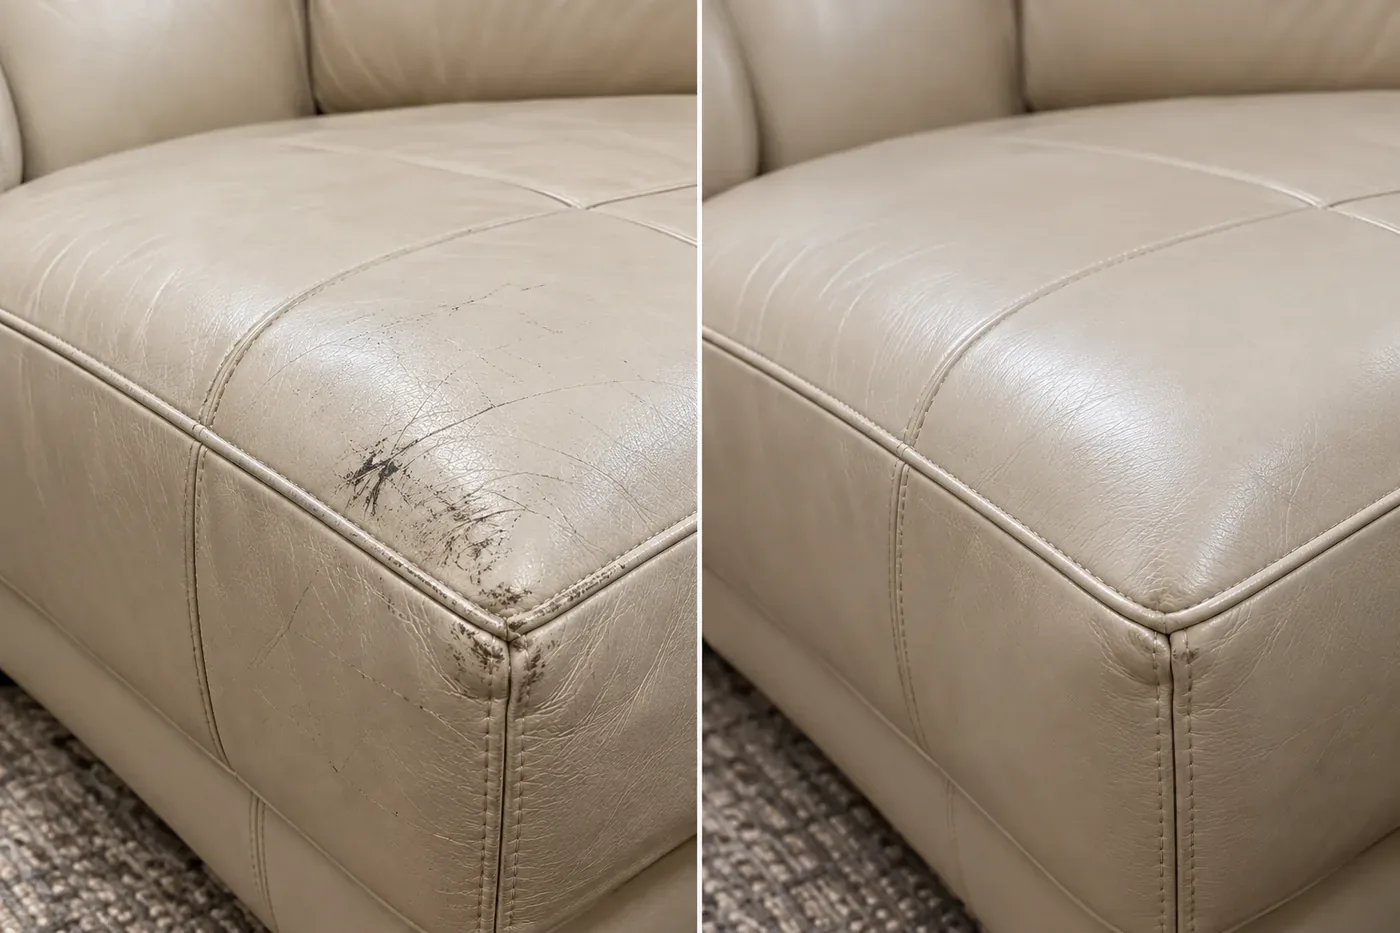
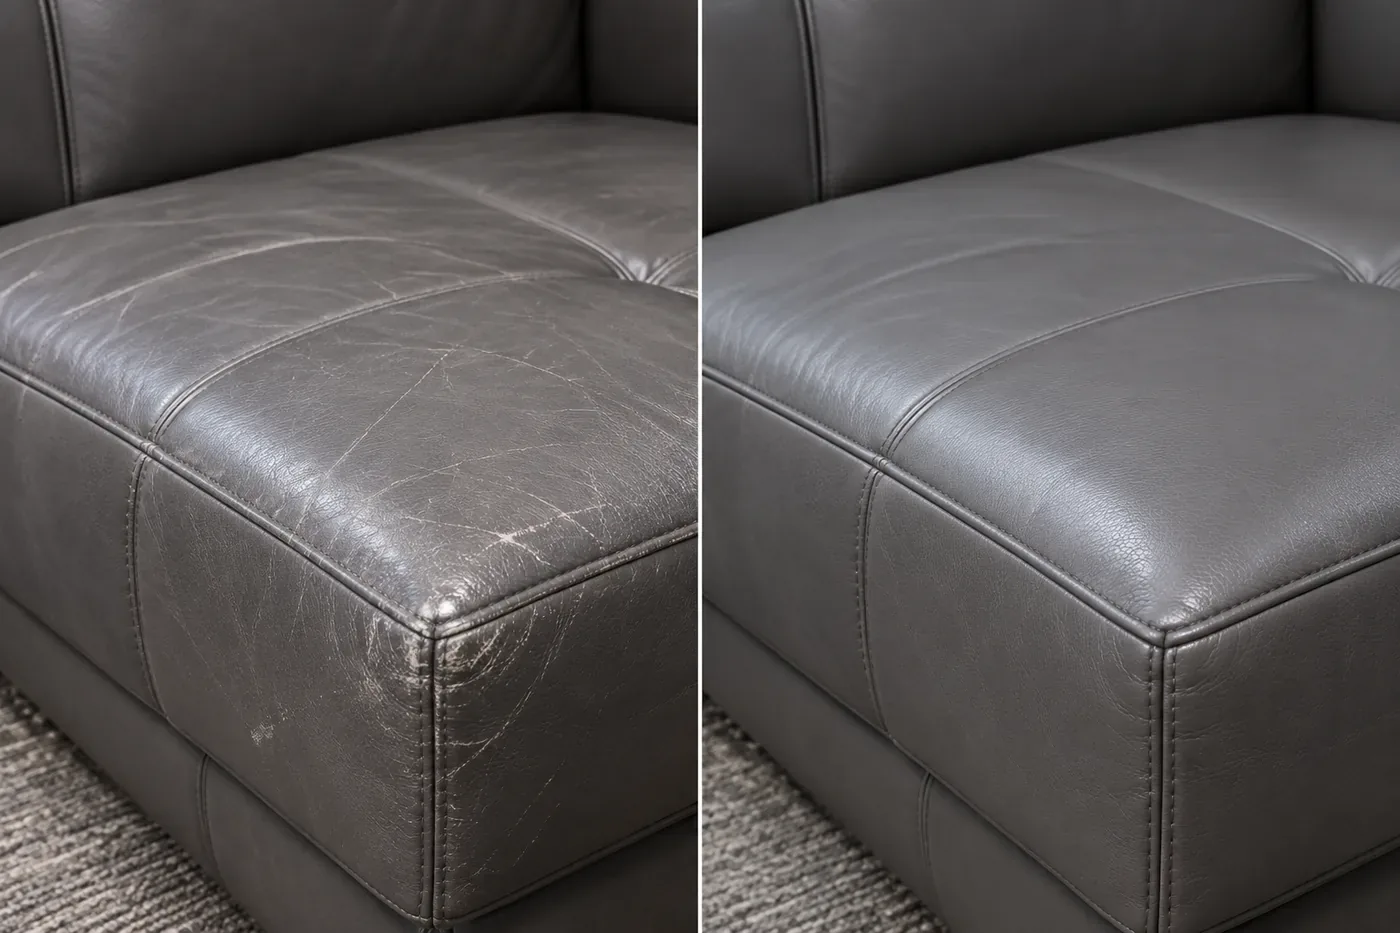
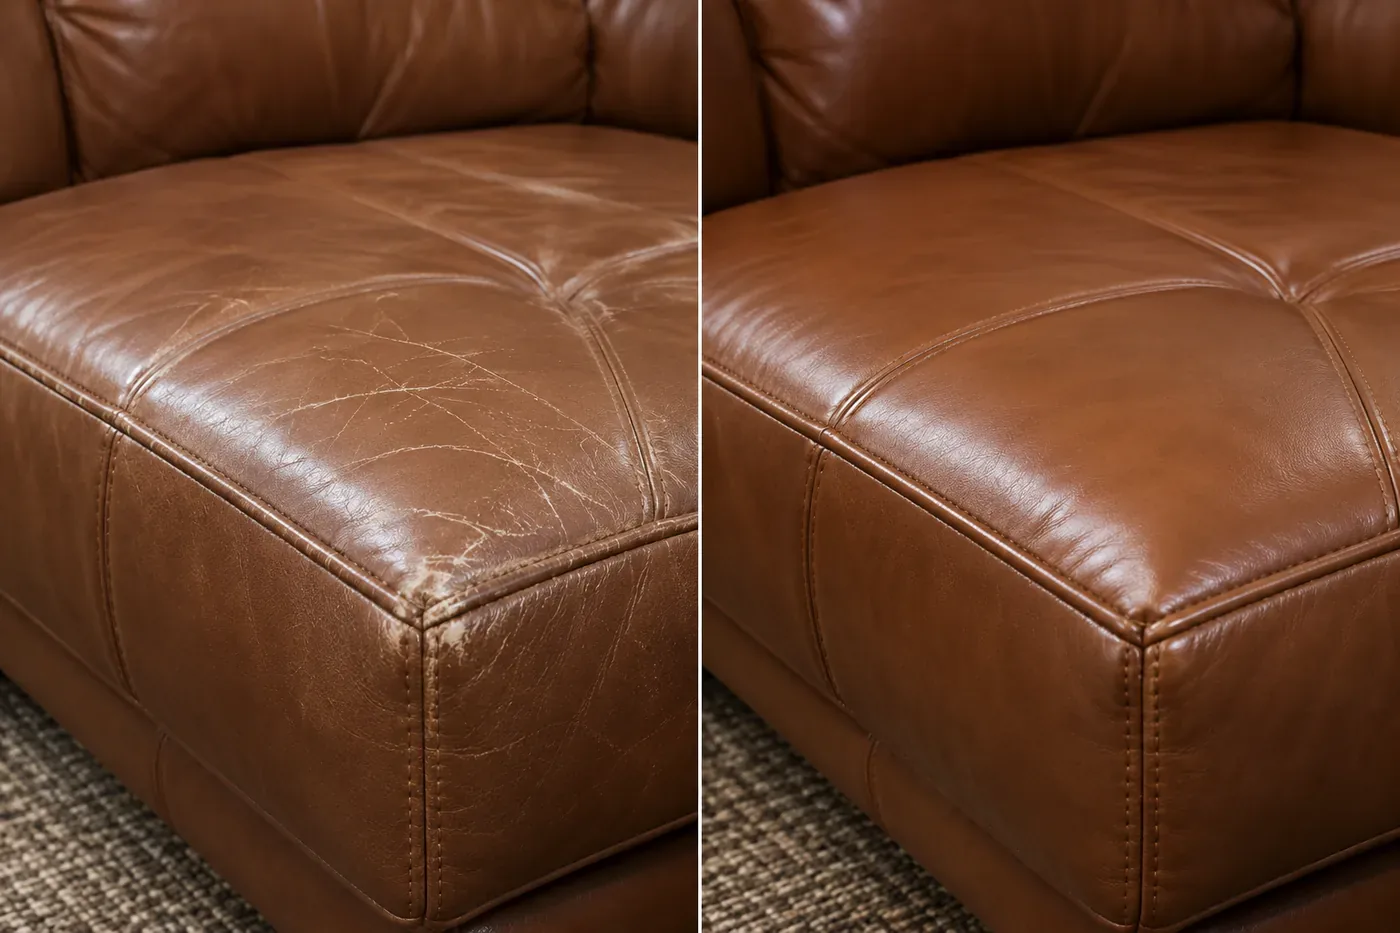
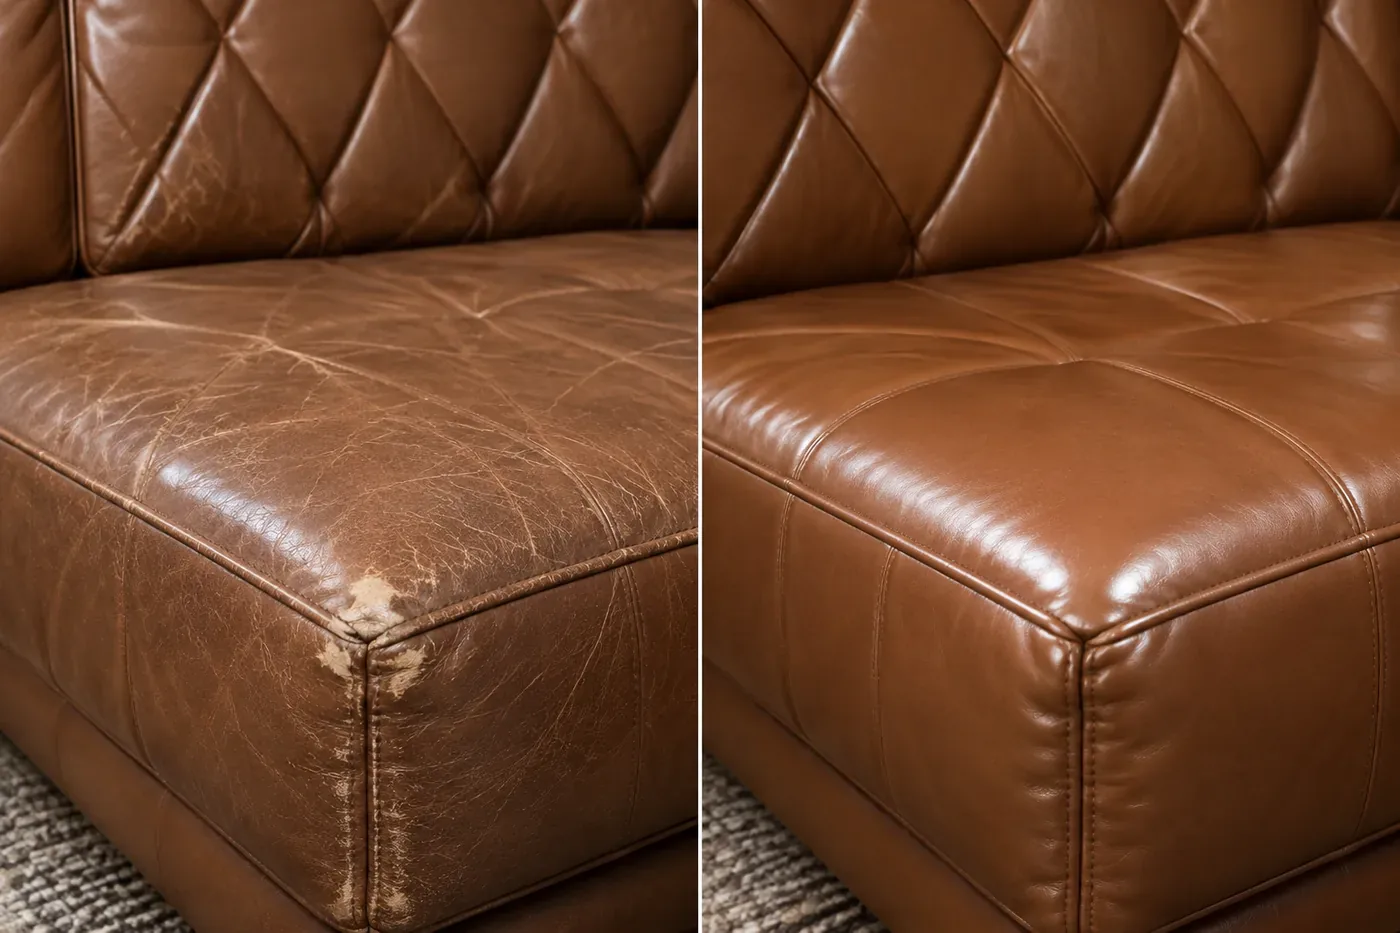
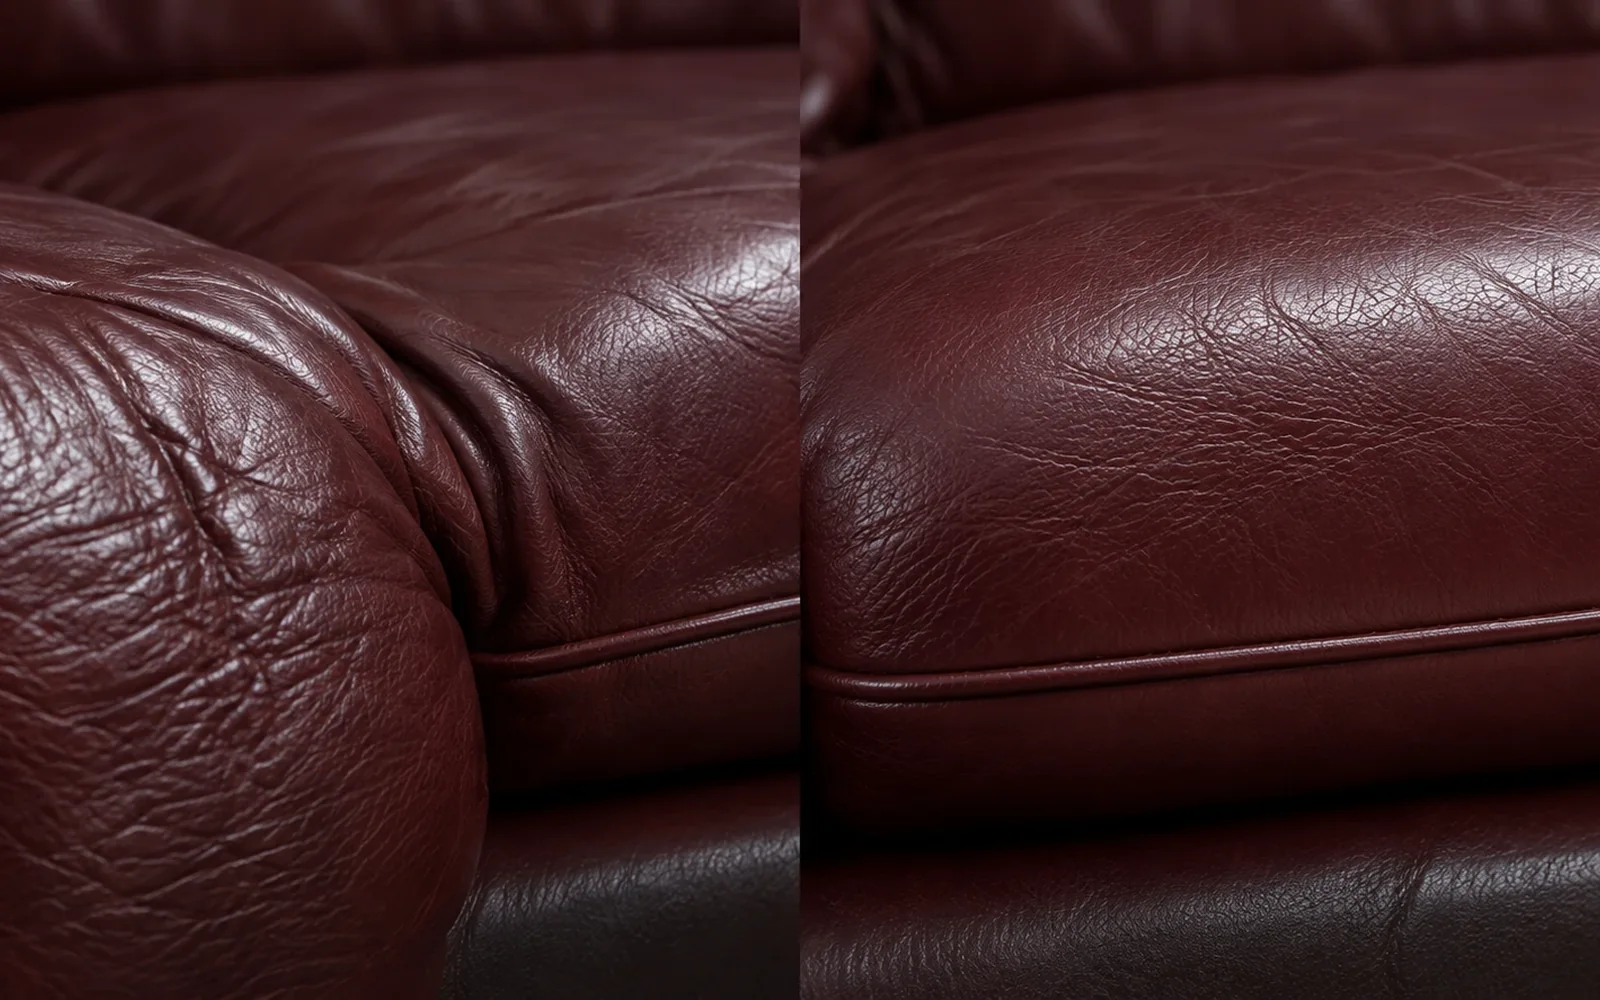
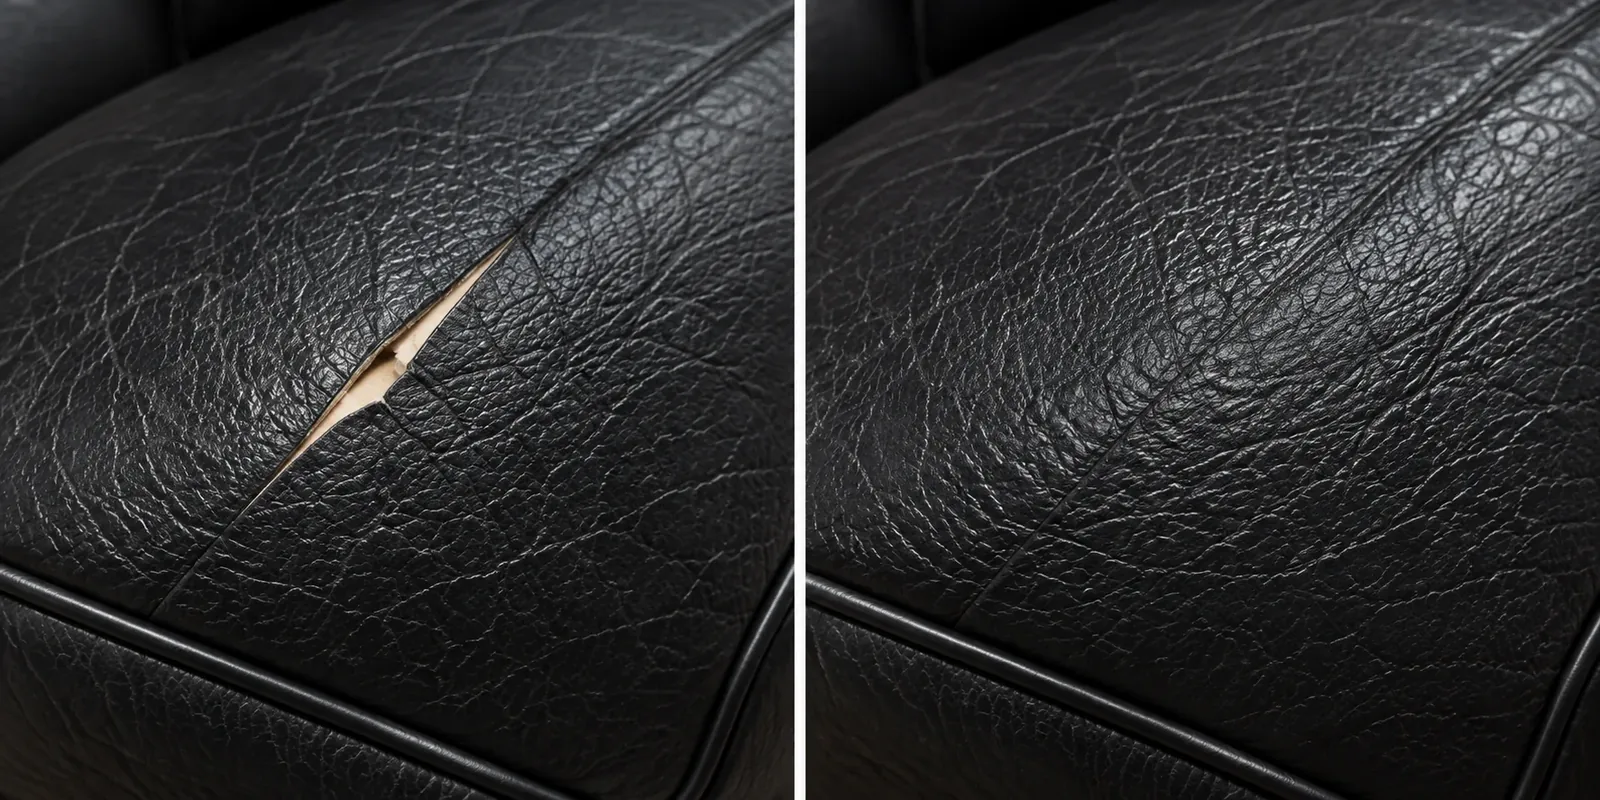
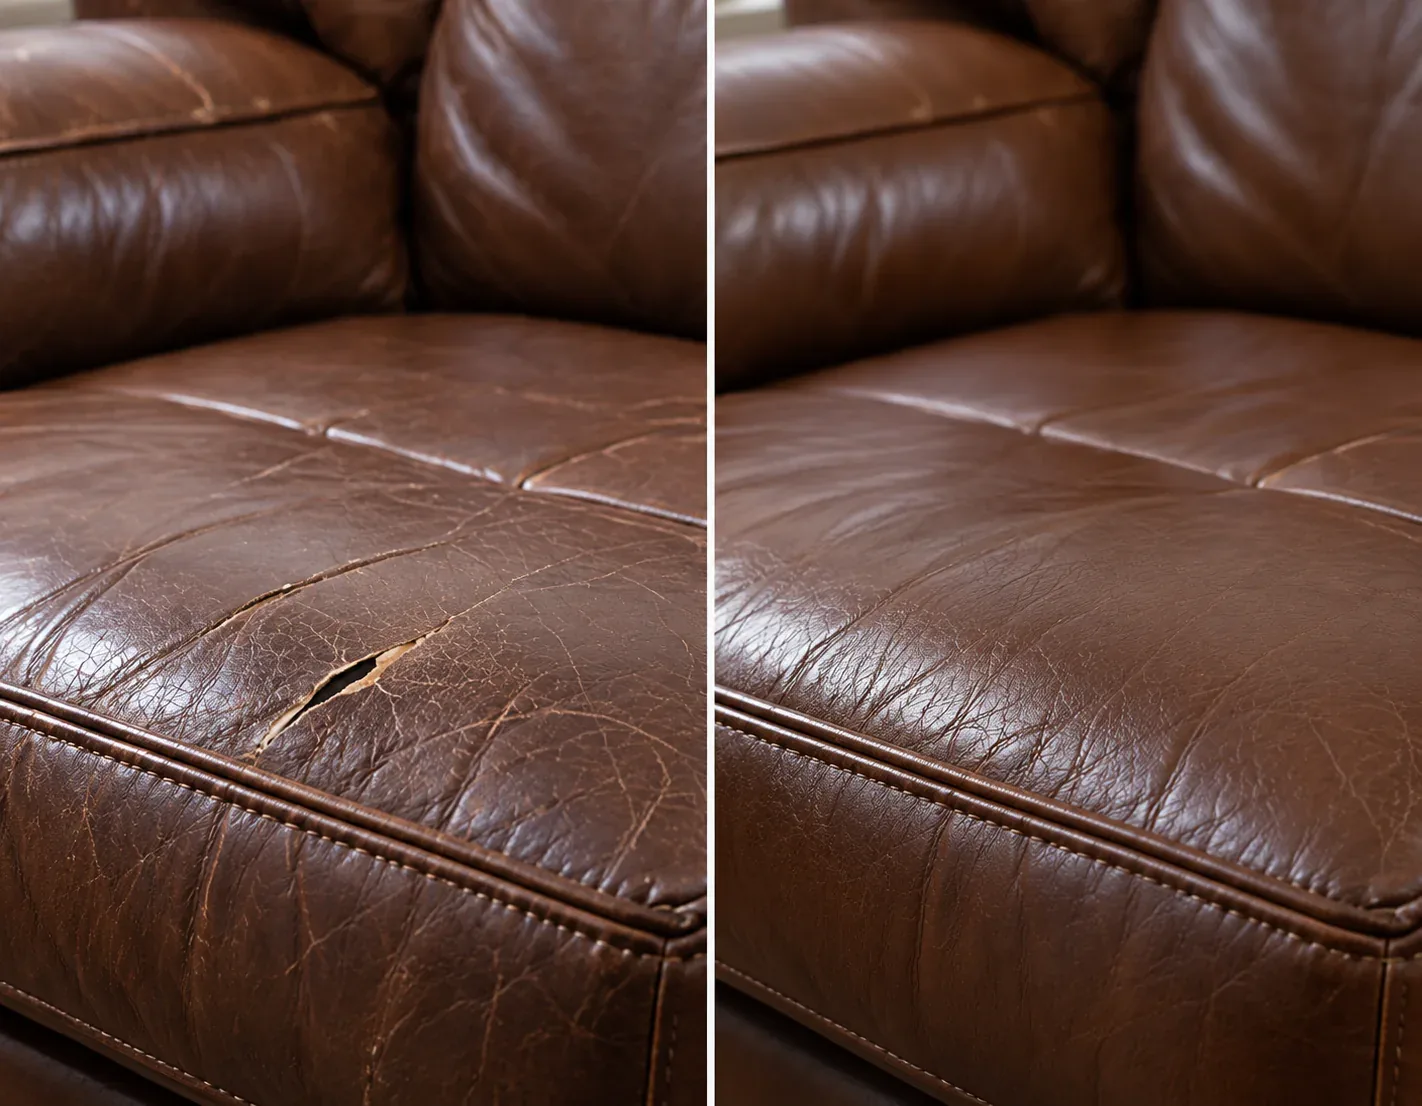
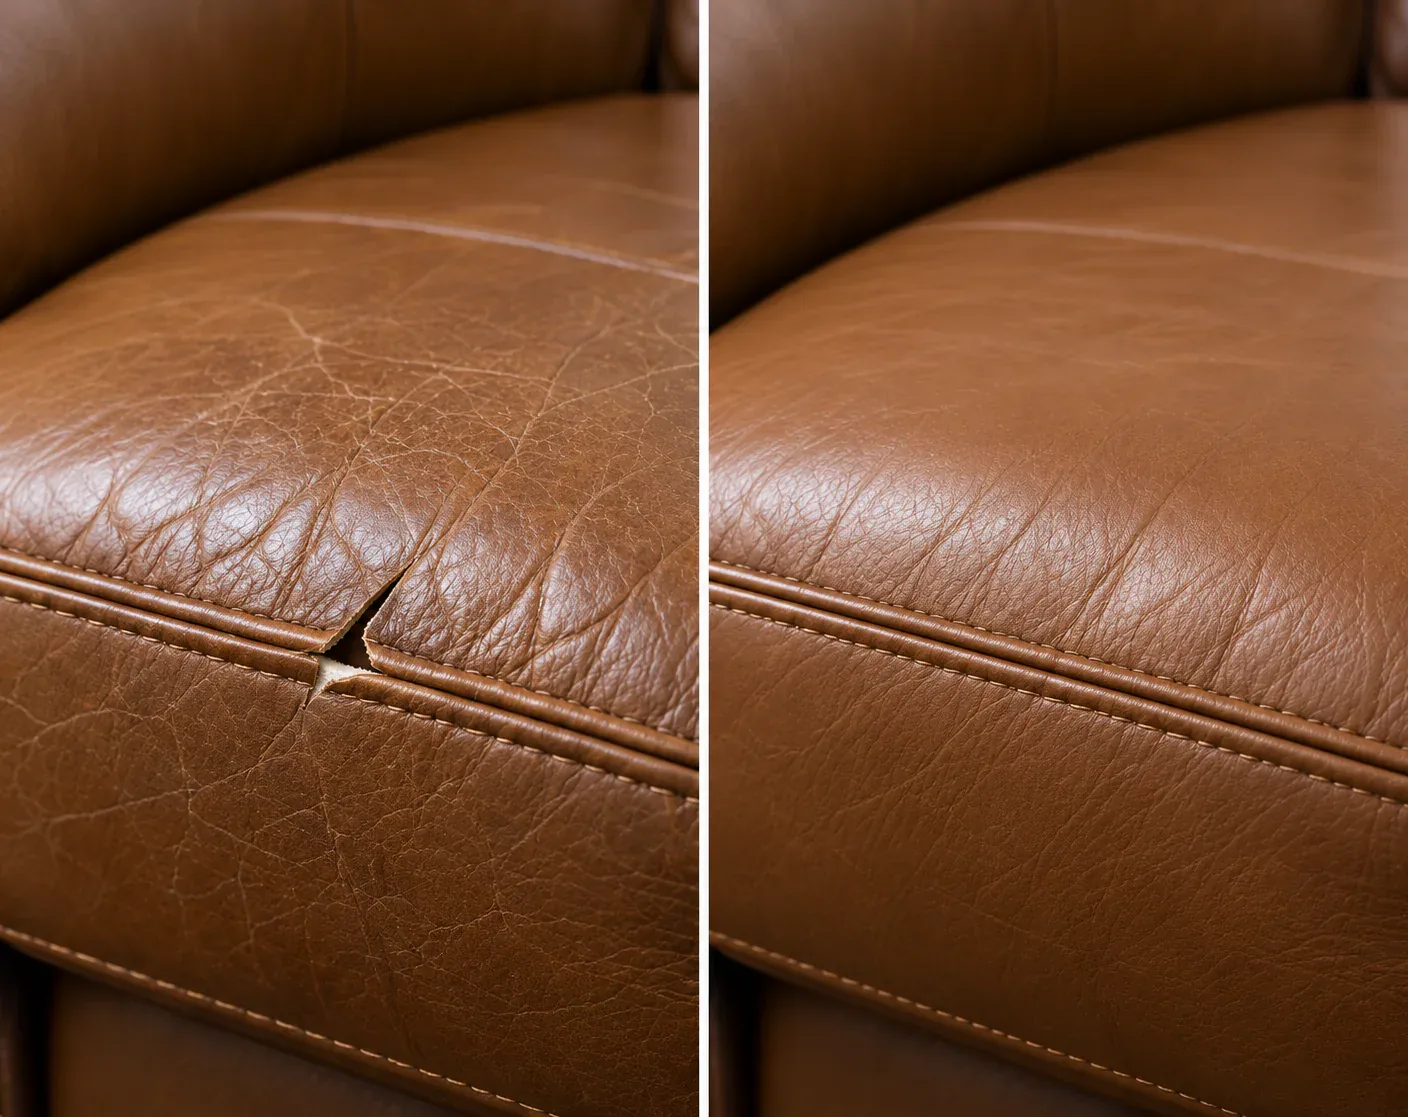
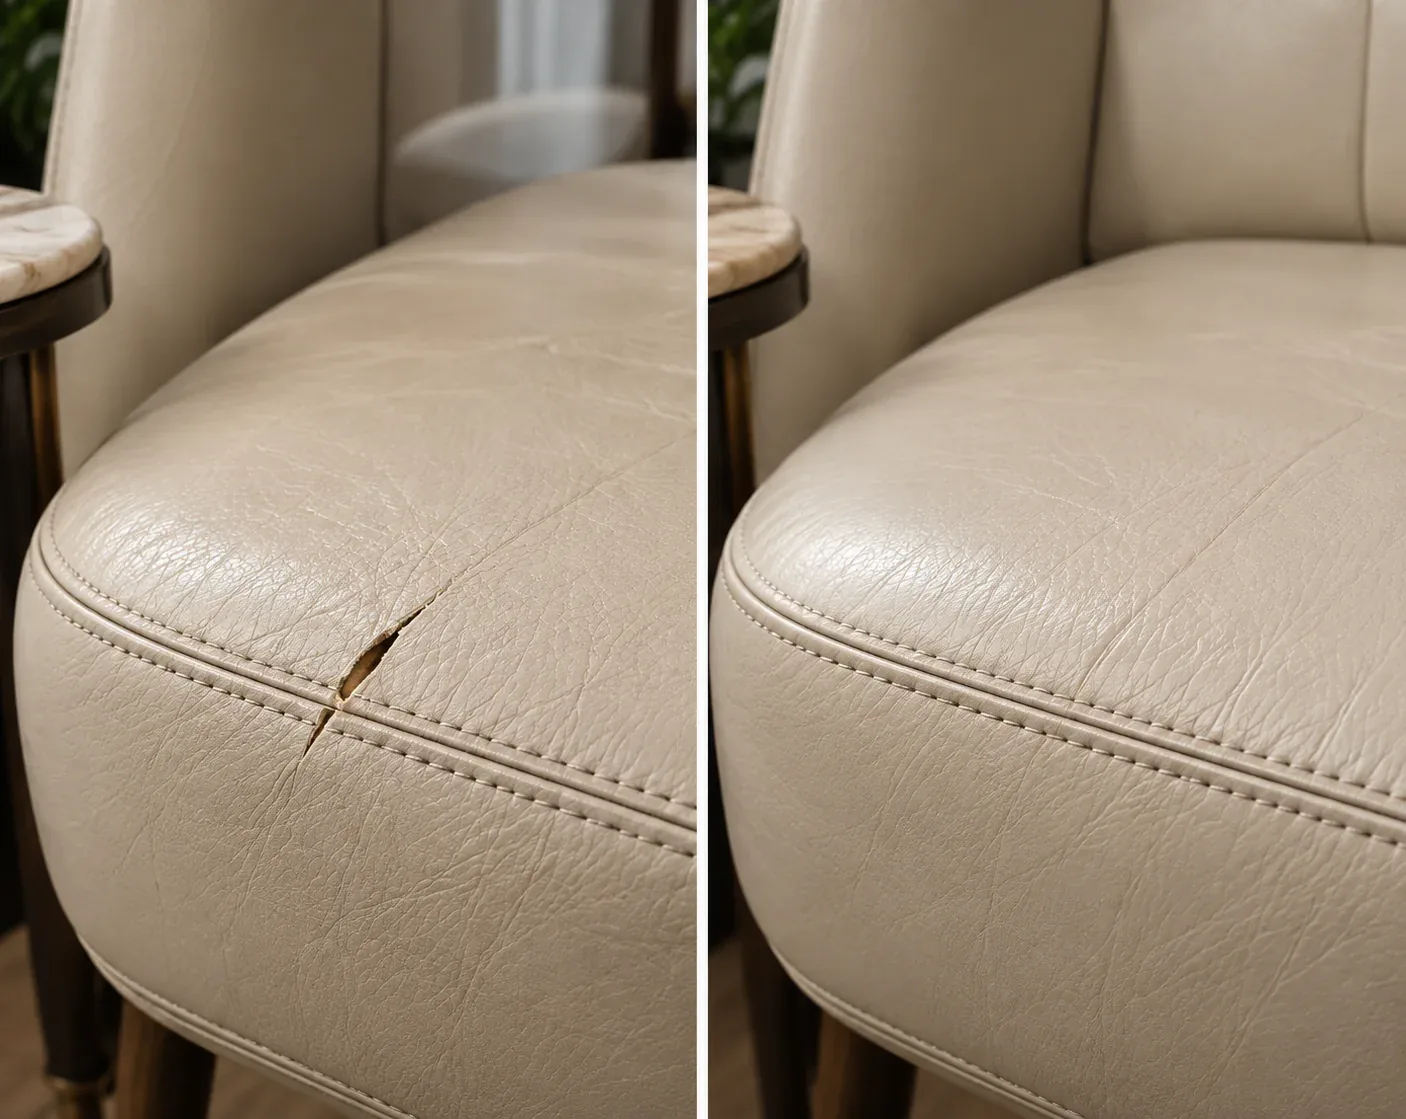
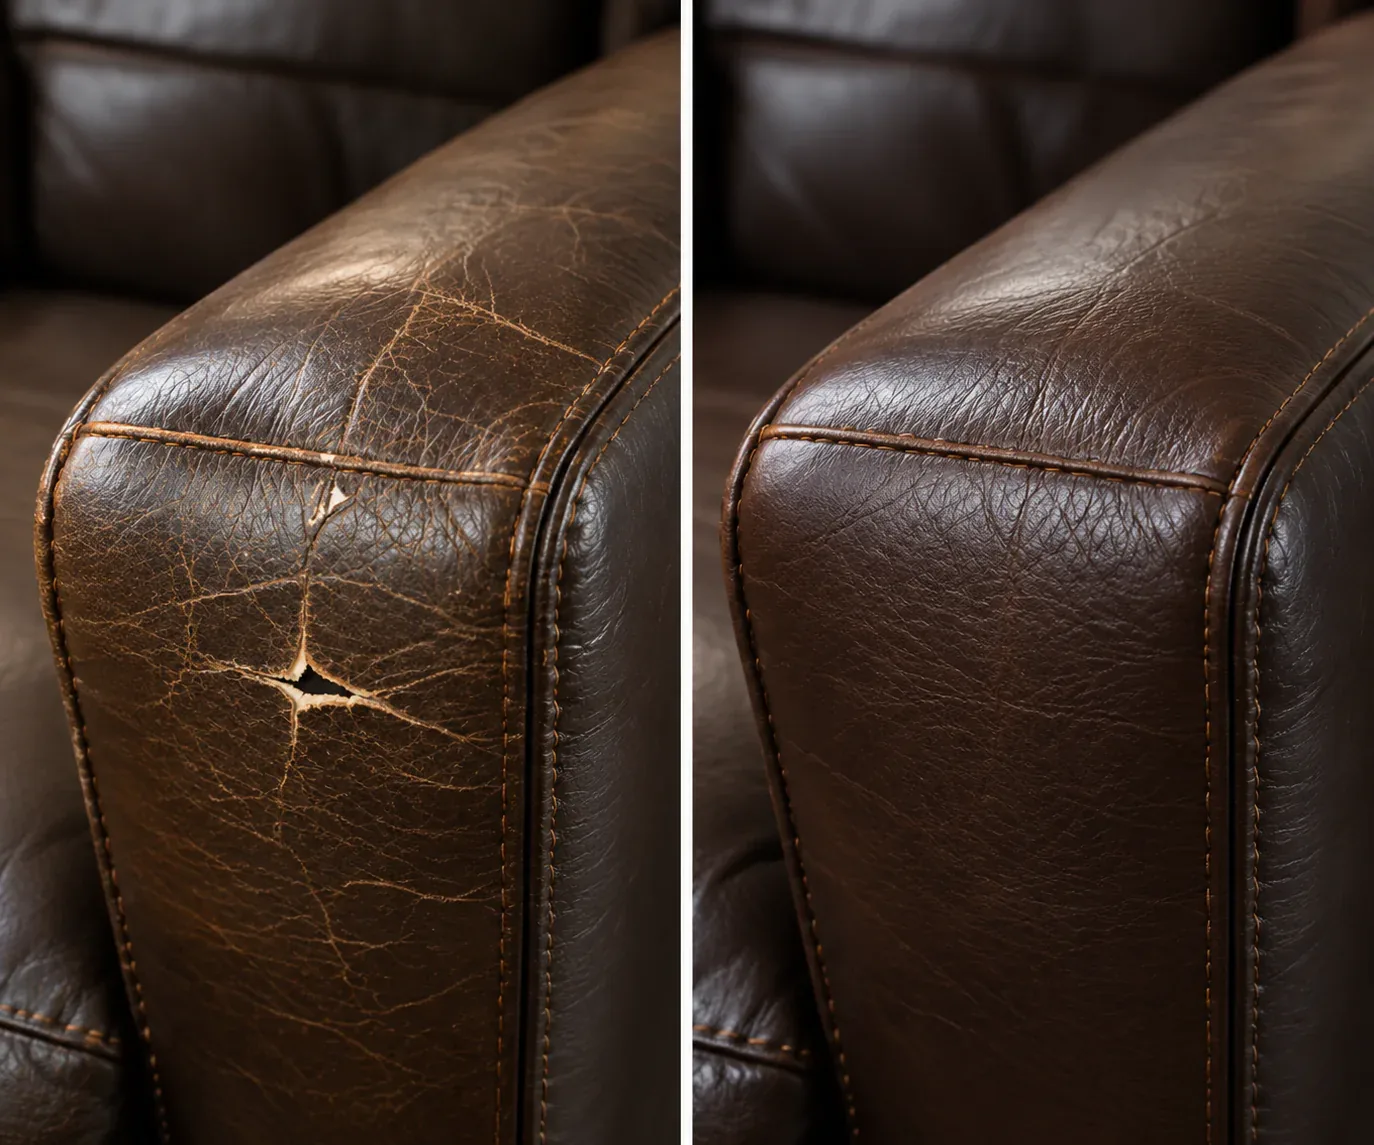
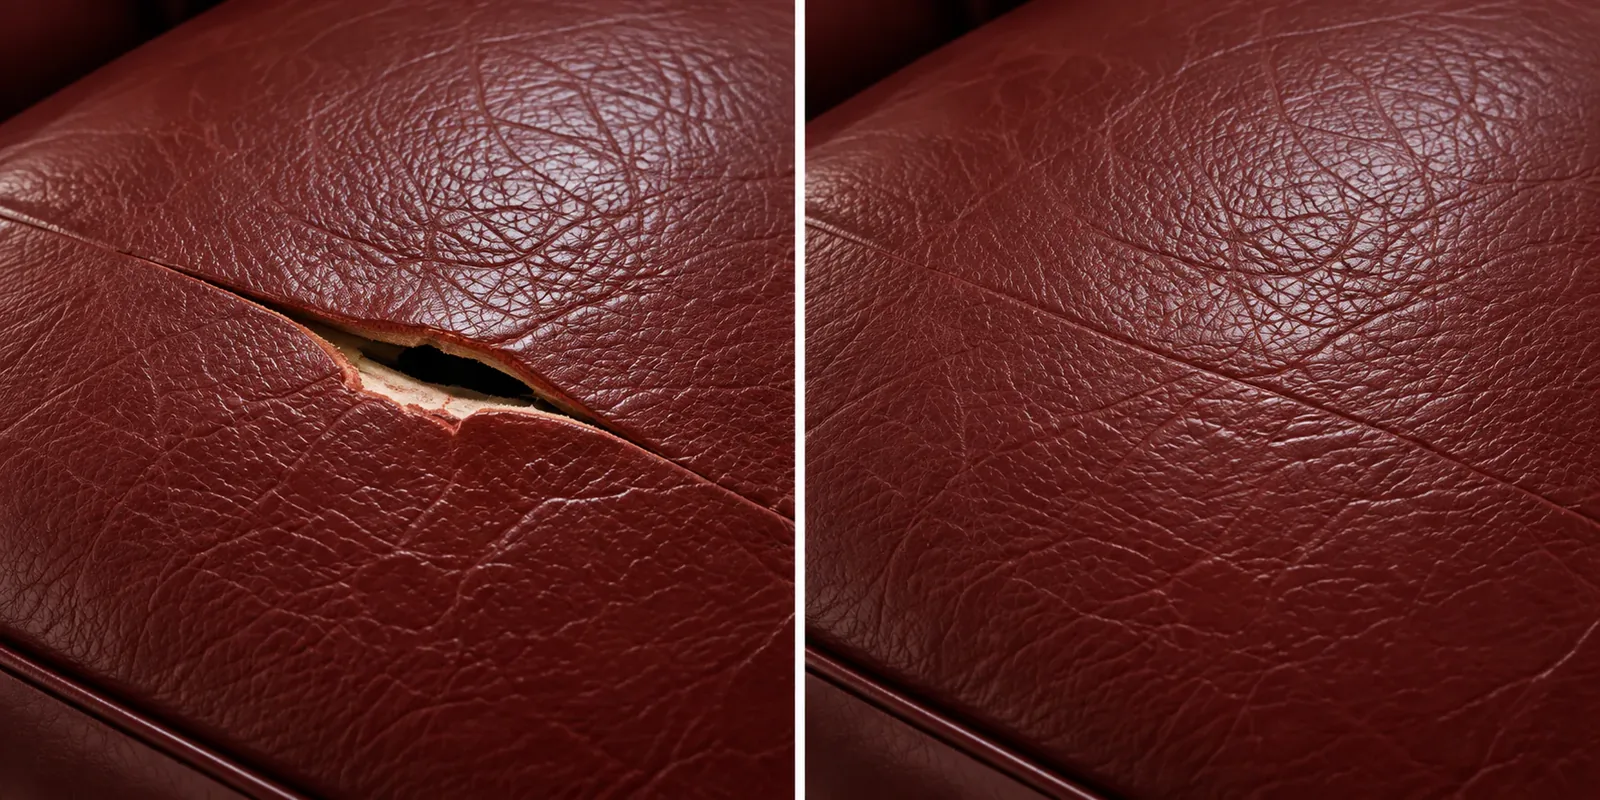
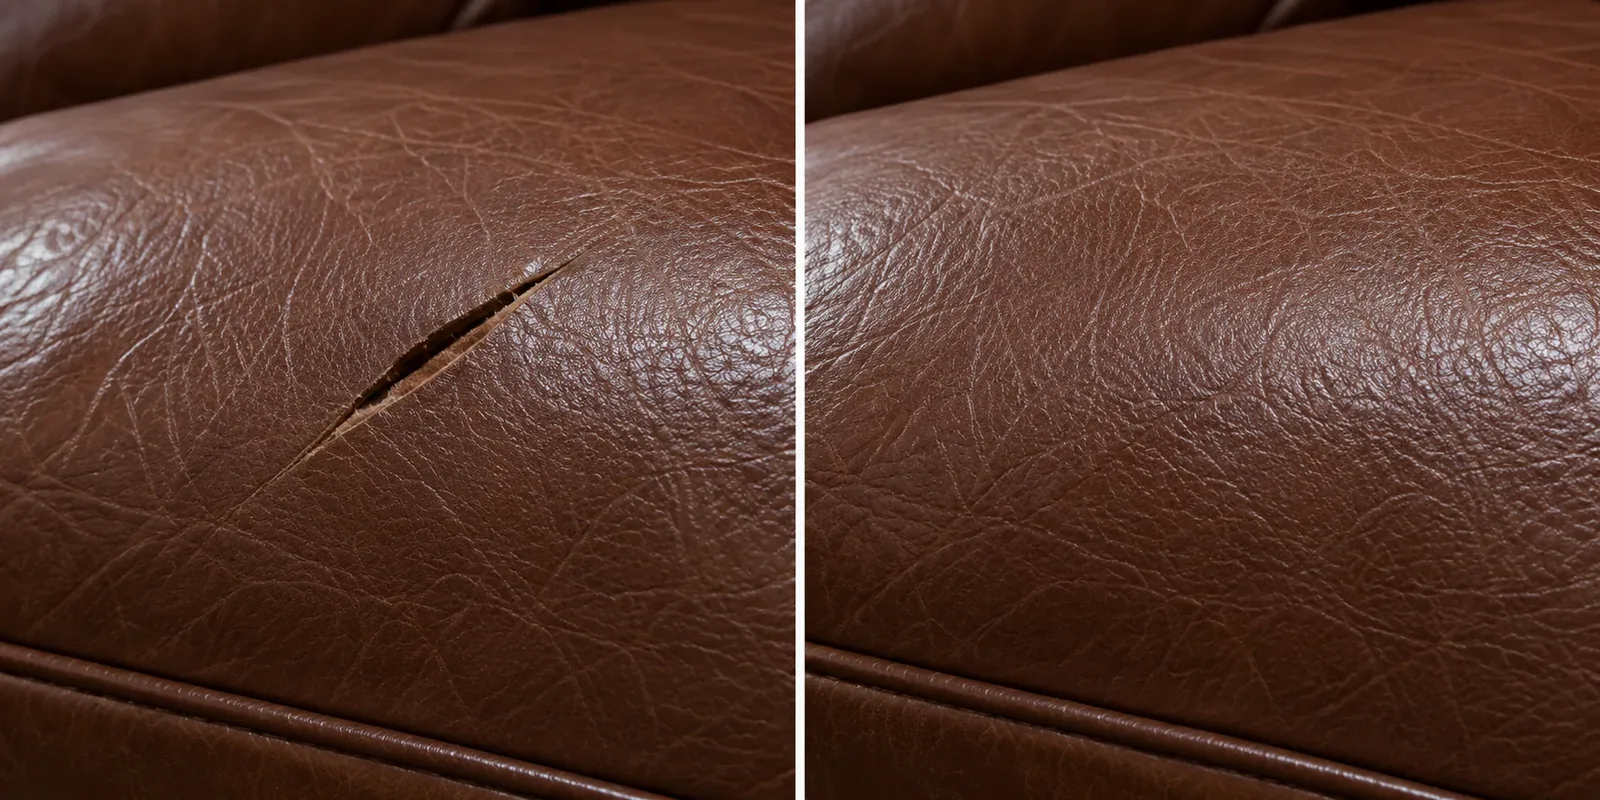
Cracked seats, claw-marked arms, worn corners and torn panels, pictured as they came to us and again once finished. On the large photos, drag the handle.
Judge the whole piece, not the patch
A good repair vanishes into its surroundings. Move each slider and check color, sheen and grain where old leather meets new.
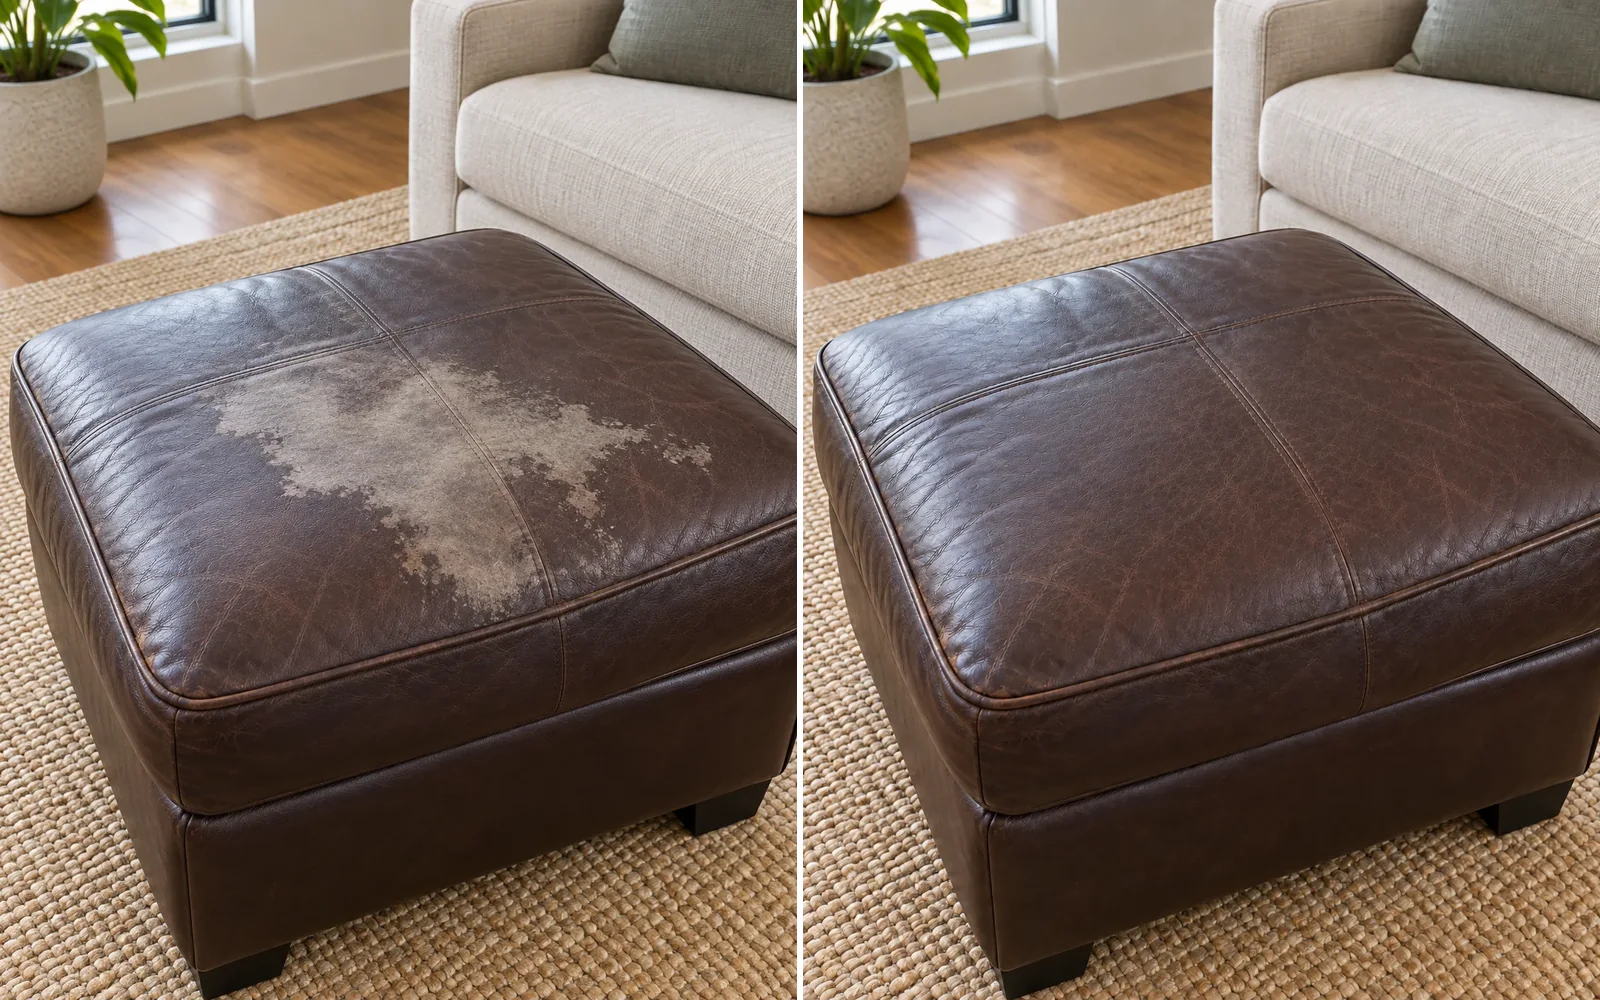
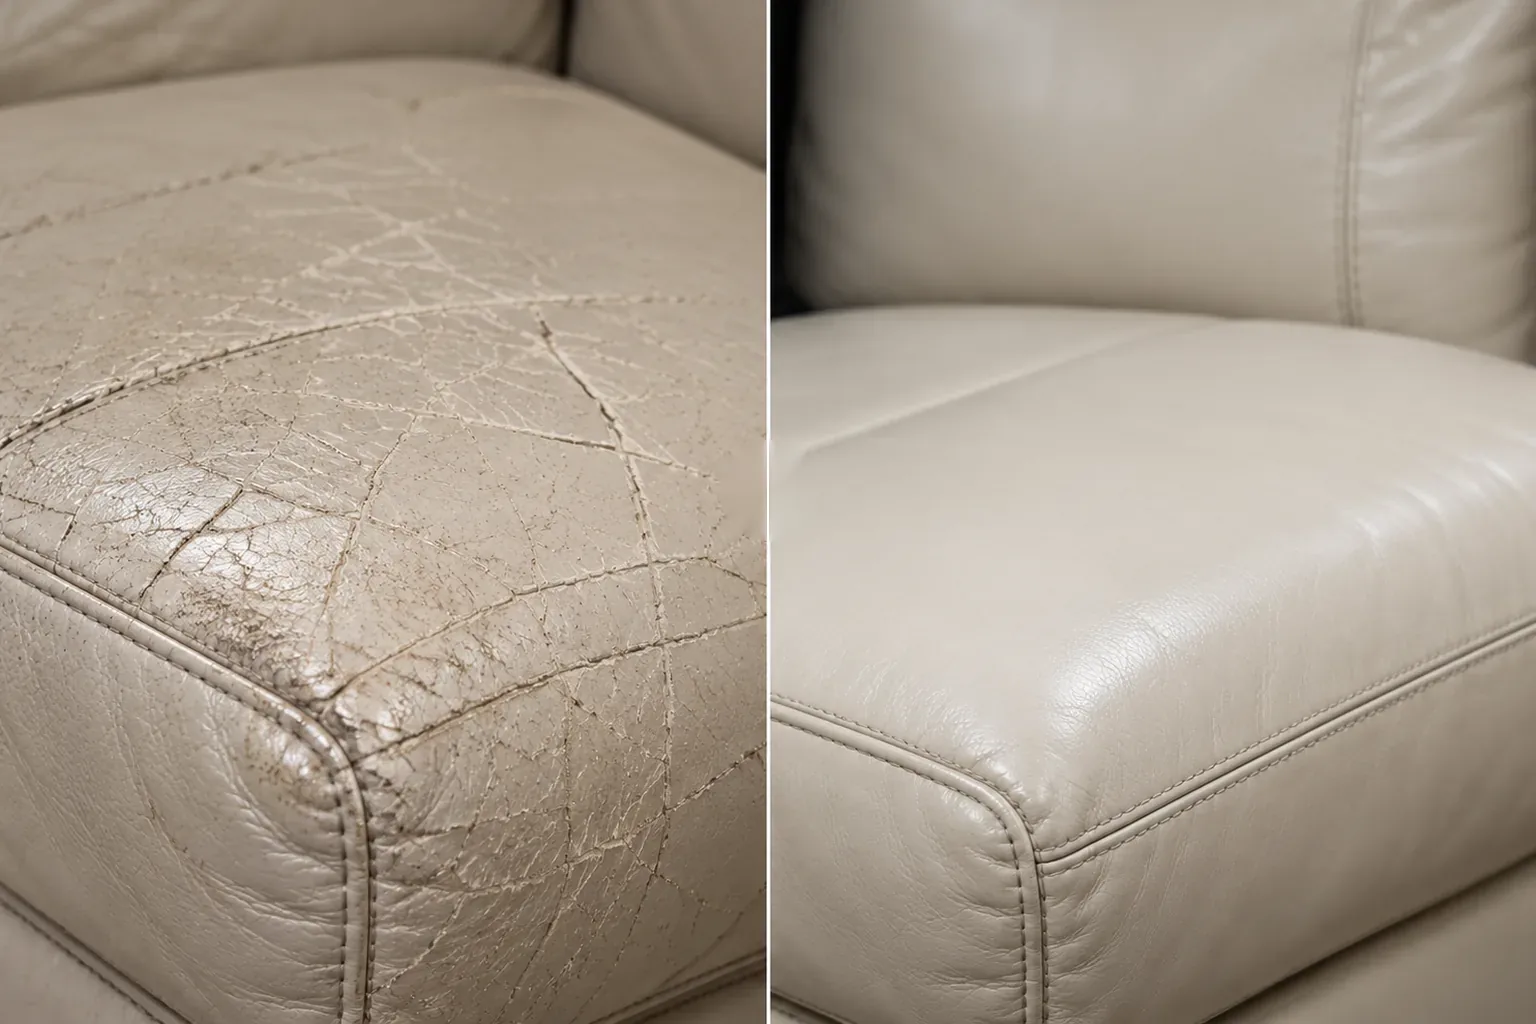
Dry, cracked leather
Dried-out leather splits at the folds first: arm fronts, seat edges, cushion tops. We fill each crack, rebuild the color, then seal it. Among these leather repair before and after CT sets, cracks come up most.
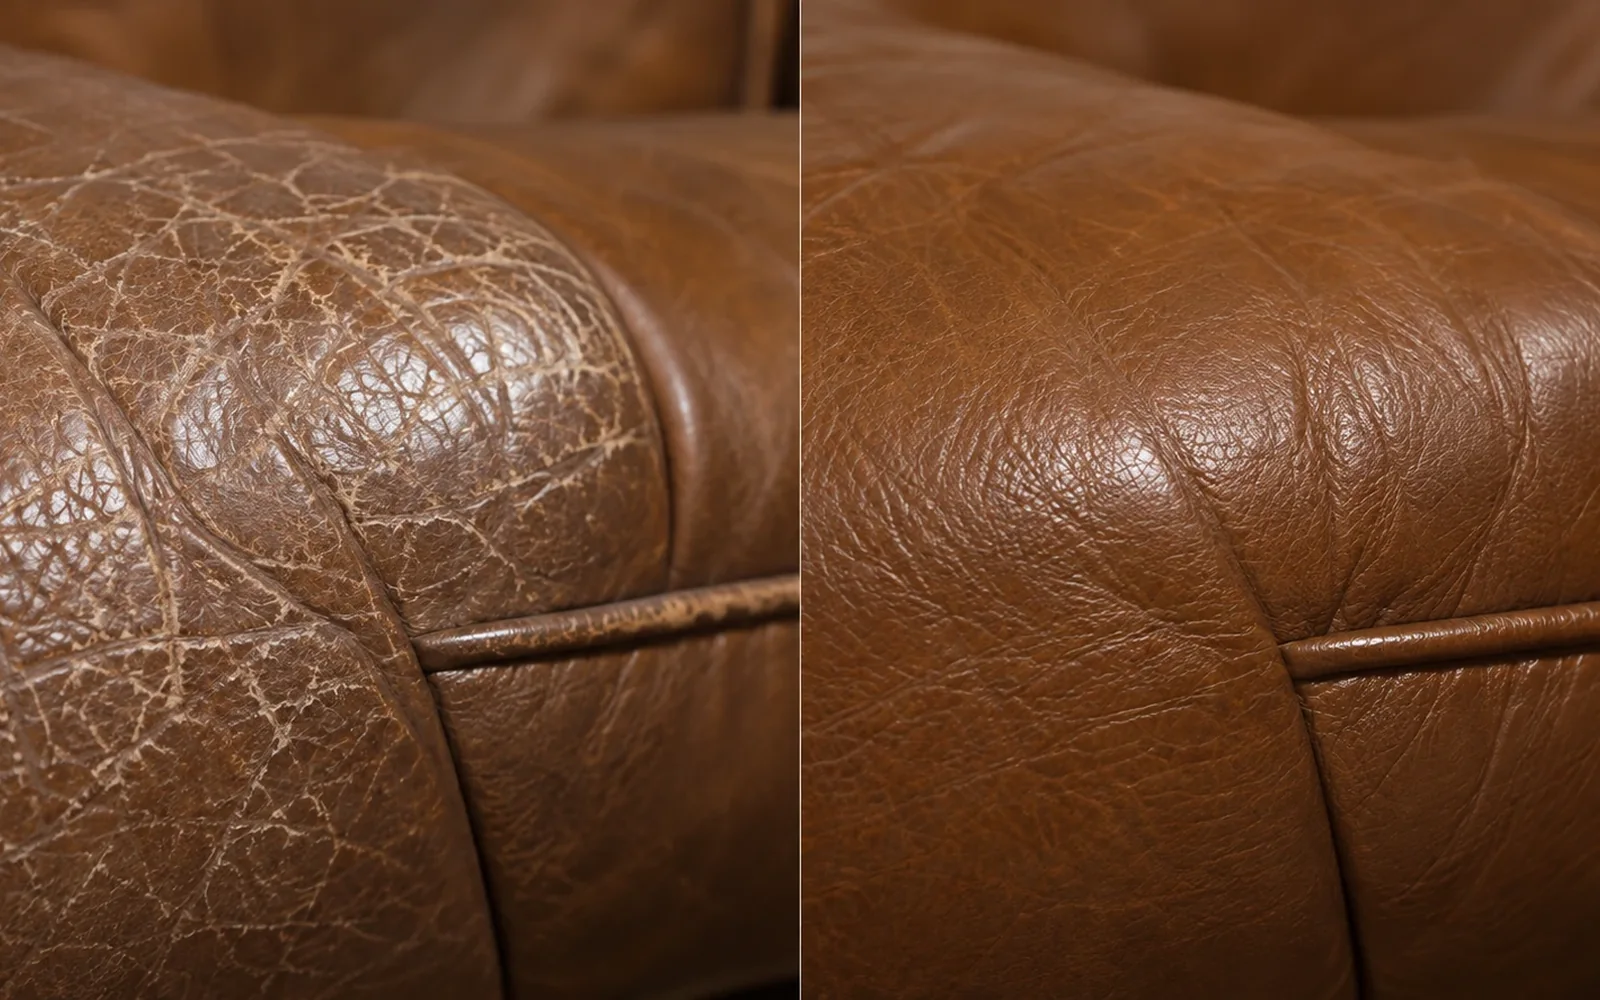
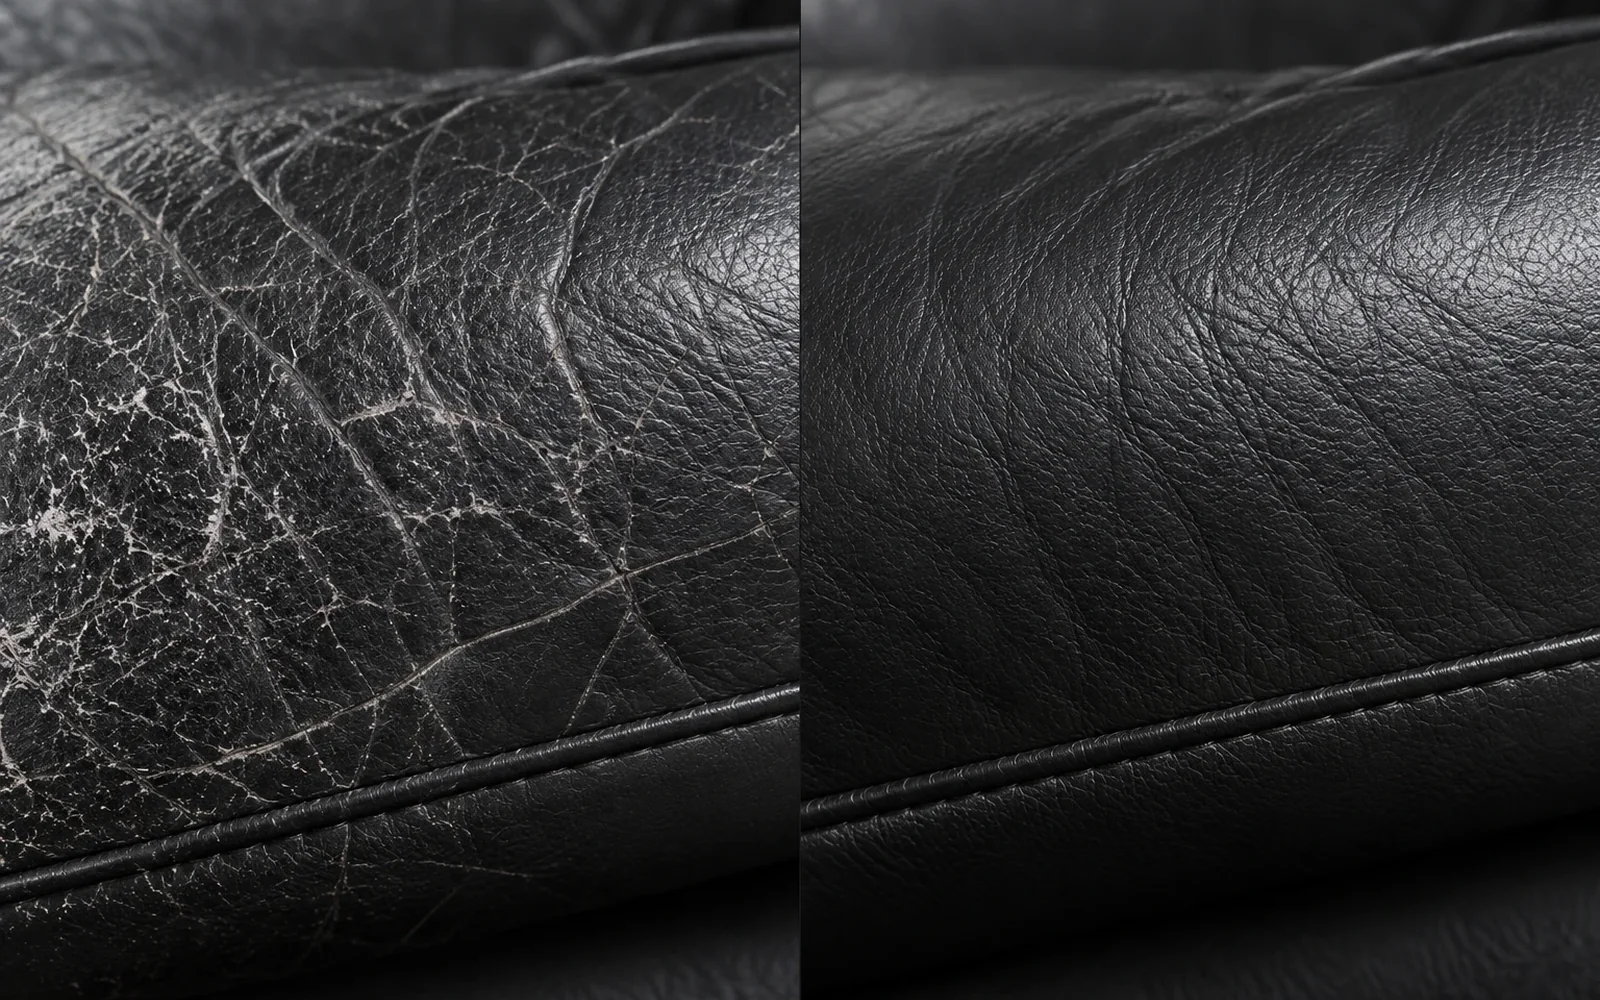
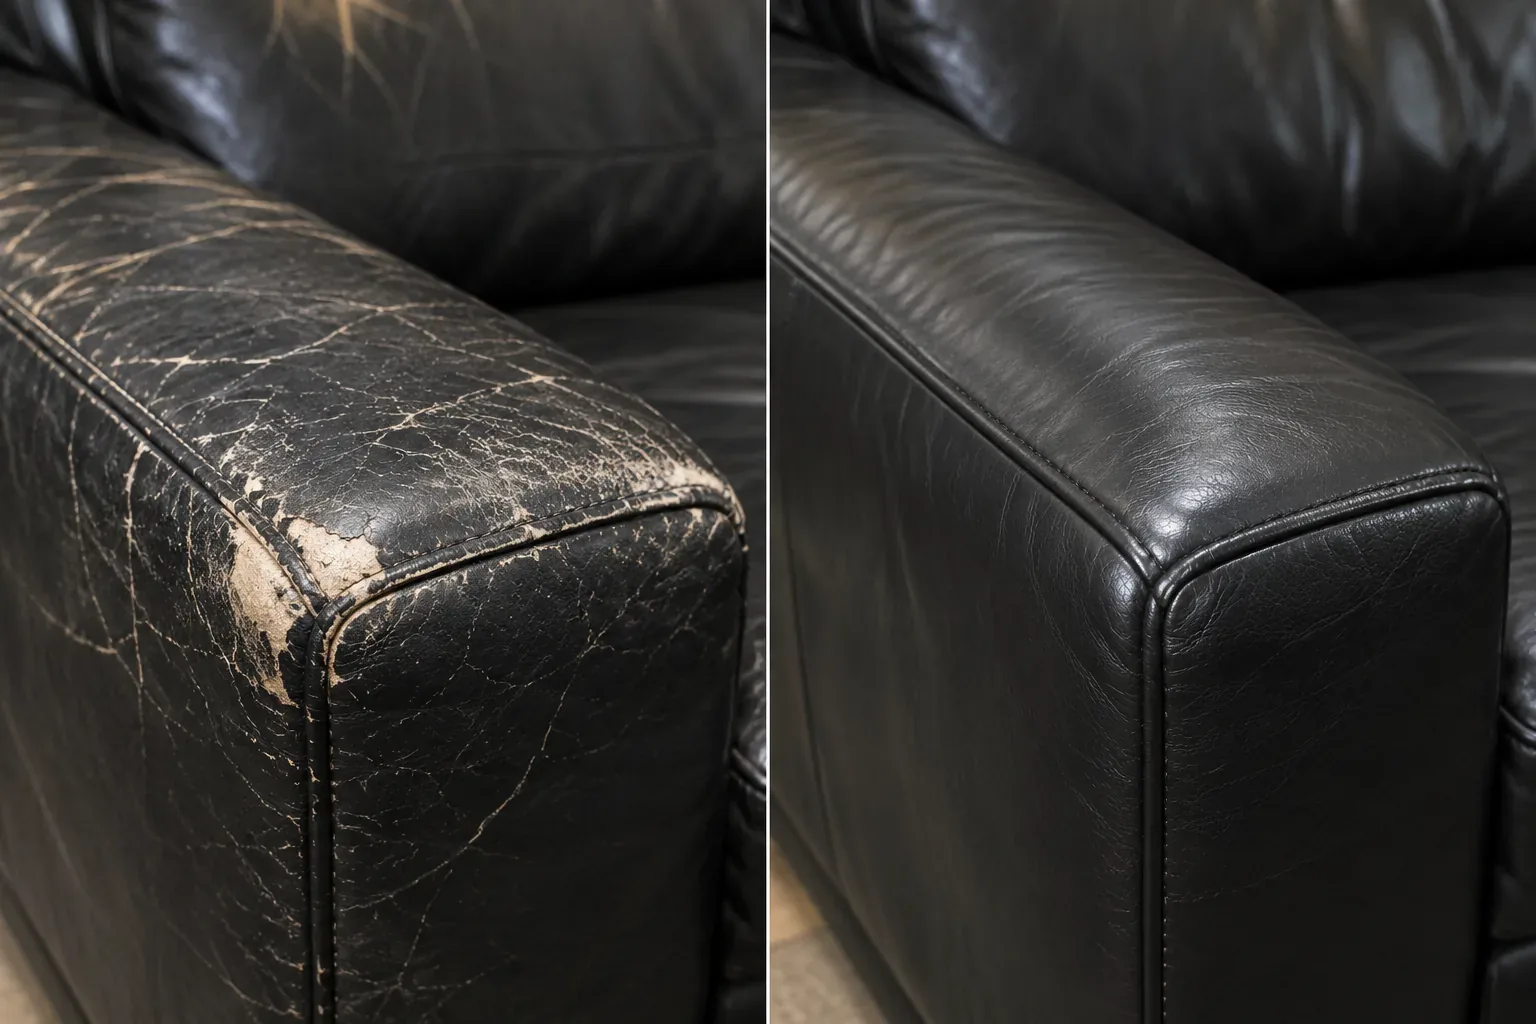
Pet claws and everyday scratches
Dogs, cats, keys and buckles all leave marks. Shallow ones blend away; deep ones get filled and recolored so light stops catching them.
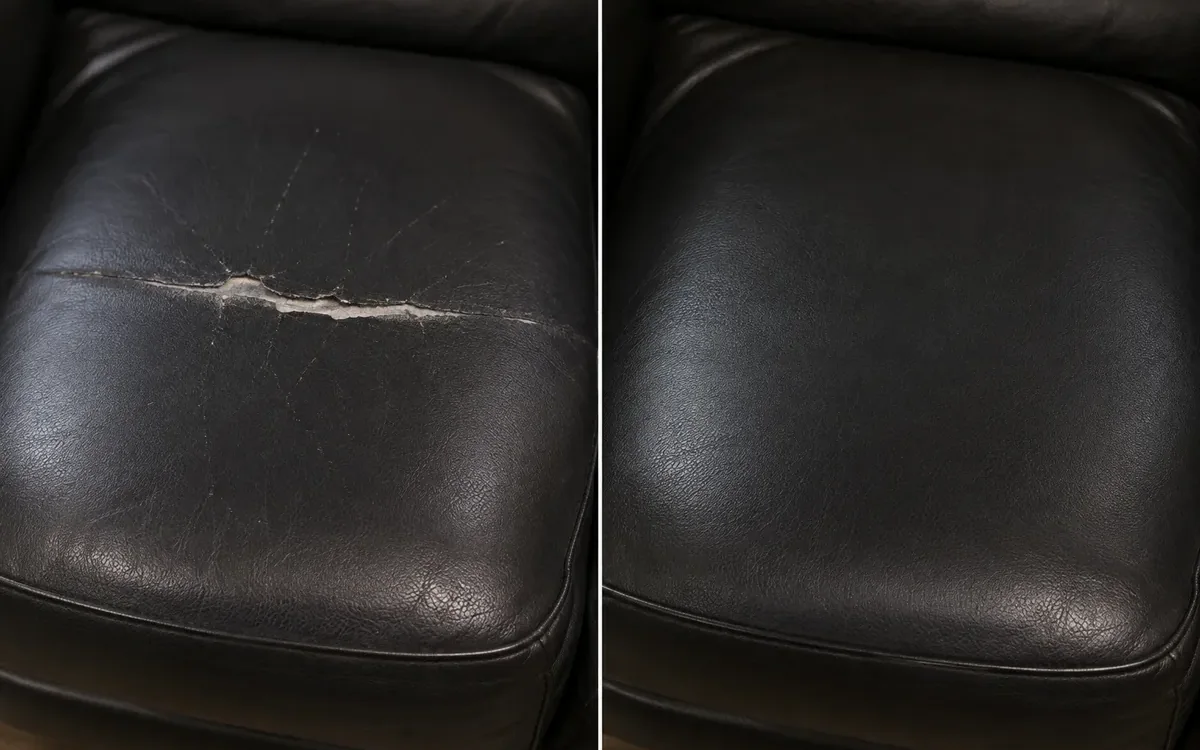
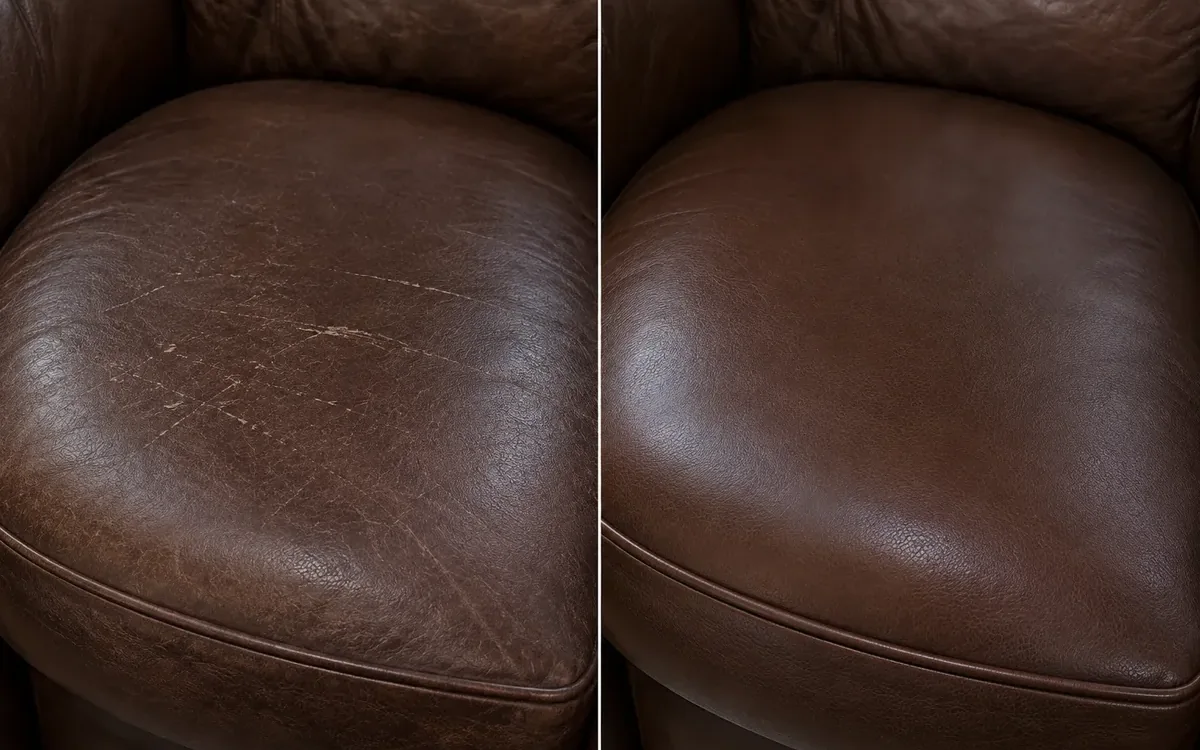
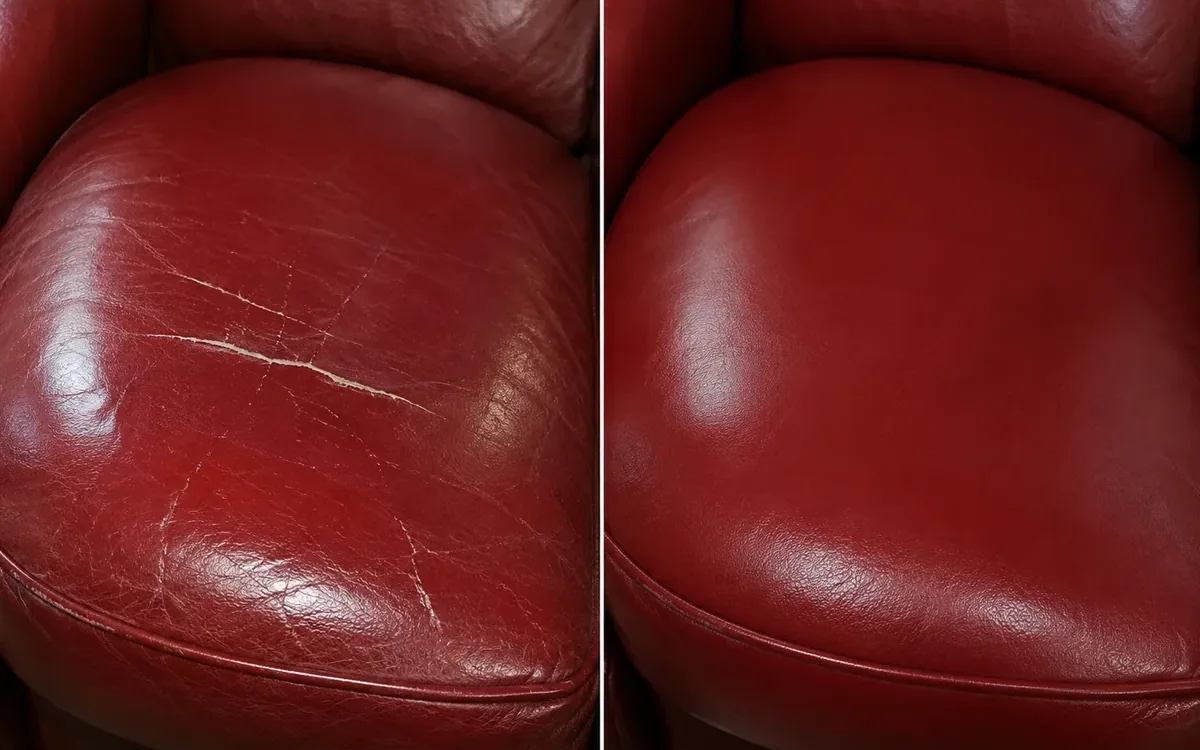
Rubbed edges, scuffs and faded color
People brush against piping and corners all day, so those go pale well ahead of the rest.
Holes, cuts and tears
A slit, a star-shaped tear or an open hole gets a patch set in from behind, then is filled and colored on the face.
Read this before sending photos
Will my repair match the after photos?
That depends on the leather, its age and the depth of the damage. We review your photos and tell you what to expect before starting.
Can you judge the job from photos alone?
Usually. Send one shot of the entire piece plus a close-up of each damaged area, and we reply with the work and its price.
How do I send the photos?
Text them to (347) 310-7483 or email office@leatherrestorepro.com.
Are some repairs not worth doing?
Yes. Bonded or faux leather peeling across its whole surface generally needs a new cover, not a repair. We say so at the estimate, not afterward.

Show us the before.
Two photos get you a first answer: the entire piece, and a close-up of the damage. Your own leather repair before and after CT begins there.
or send them by email to office@leatherrestorepro.com